Chicken
$1.40per plate
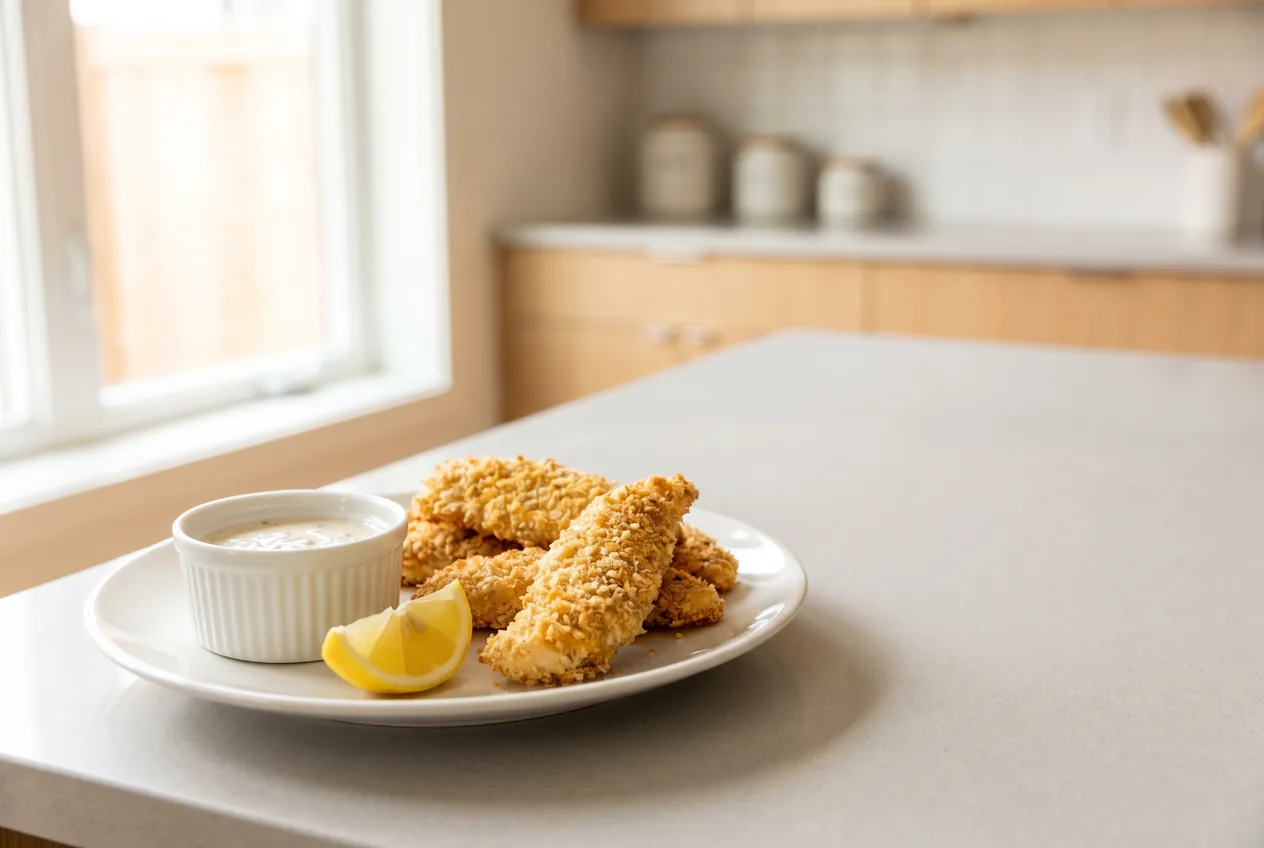
Homemade chicken tenders cost a fraction of the drive-through kind and you know exactly what is in them. Strips of chicken breast get a quick dredge and a crunchy crumb coating, then bake in the oven until golden, no deep fryer or gallon of oil required. Toasting the breadcrumbs first is the trick to a crust that actually crisps in the oven. It is a kid-friendly dinner for four at about a dollar sixty-five a plate, with any dipping sauce you like. For more kid-friendly chicken dinners, browse our chicken recipes collection.
Recipe from Budget Plates · https://www.budgetplates.com/chicken-tender-recipes
Stir the breadcrumbs with the oil in a dry pan over medium until golden, about 3 minutes, then mix in the parmesan and half the spices. Pre-toasting is the secret to a crust that comes out crunchy from the oven instead of pale.
Season the chicken strips. Put the flour, the beaten egg, and the toasted crumbs in three shallow dishes. Coat each strip in flour, then egg, then crumbs, pressing so they stick.
Set the tenders on a rack over a sheet pan if you have one and bake at 425 F for 18 to 20 minutes, until the chicken reaches 165 F and the crust is deep golden. A rack crisps the underside too.
Let them rest a couple minutes so the juices settle, then serve with your favorite dipping sauce.
Refrigerate cooked tenders in an airtight container for up to 4 days. They are great cold in a wrap or salad the next day.
Freeze cooked, cooled tenders in a single layer, then bag, for up to 3 months. Reheat from frozen in the oven.
Reheat in a 400 F oven or air fryer for about 8 minutes to bring back the crunch. The microwave works but softens the crust.
Estimates per serving, calculated from standard ingredient data. Not a substitute for medical advice.
Toast the breadcrumbs in a little oil before you bread the chicken, and bake on a rack at a hot 425 F. Pre-toasting gives you a golden, crunchy crust without deep frying.
Breast works perfectly; just cut it into strips yourself, which is much cheaper than buying pre-cut tenderloins. Thighs cut into strips are cheaper still and very juicy.
Yes. Air fry at 400 F for about 12 minutes, flipping once. The circulating air gives an even crispier crust and uses no extra oil.
The batch is around $6.63 and feeds four. Cutting your own tenders from breast, instead of buying frozen, is why it comes in this low.
As an Amazon Associate, Budget Plates may earn from qualifying purchases.