Dessert
$0.62per plate
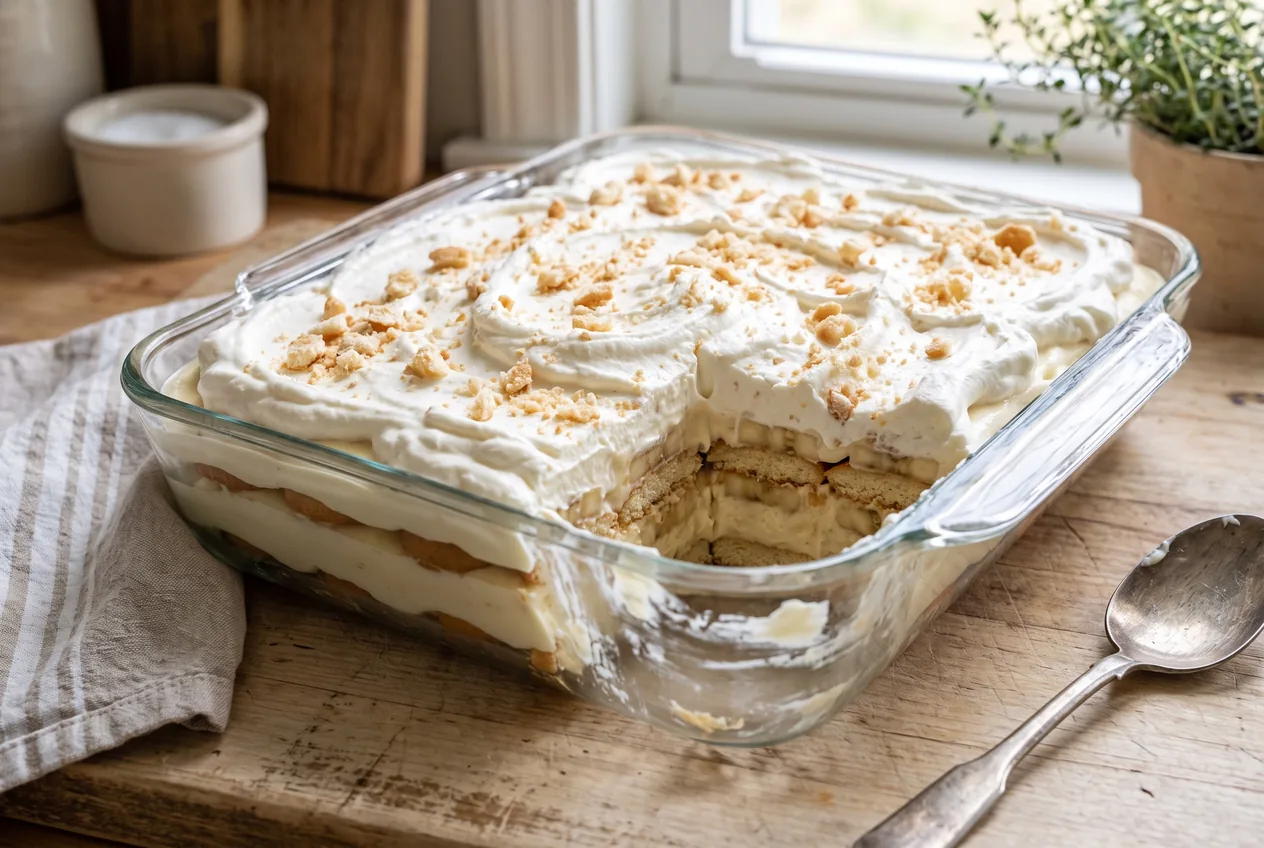
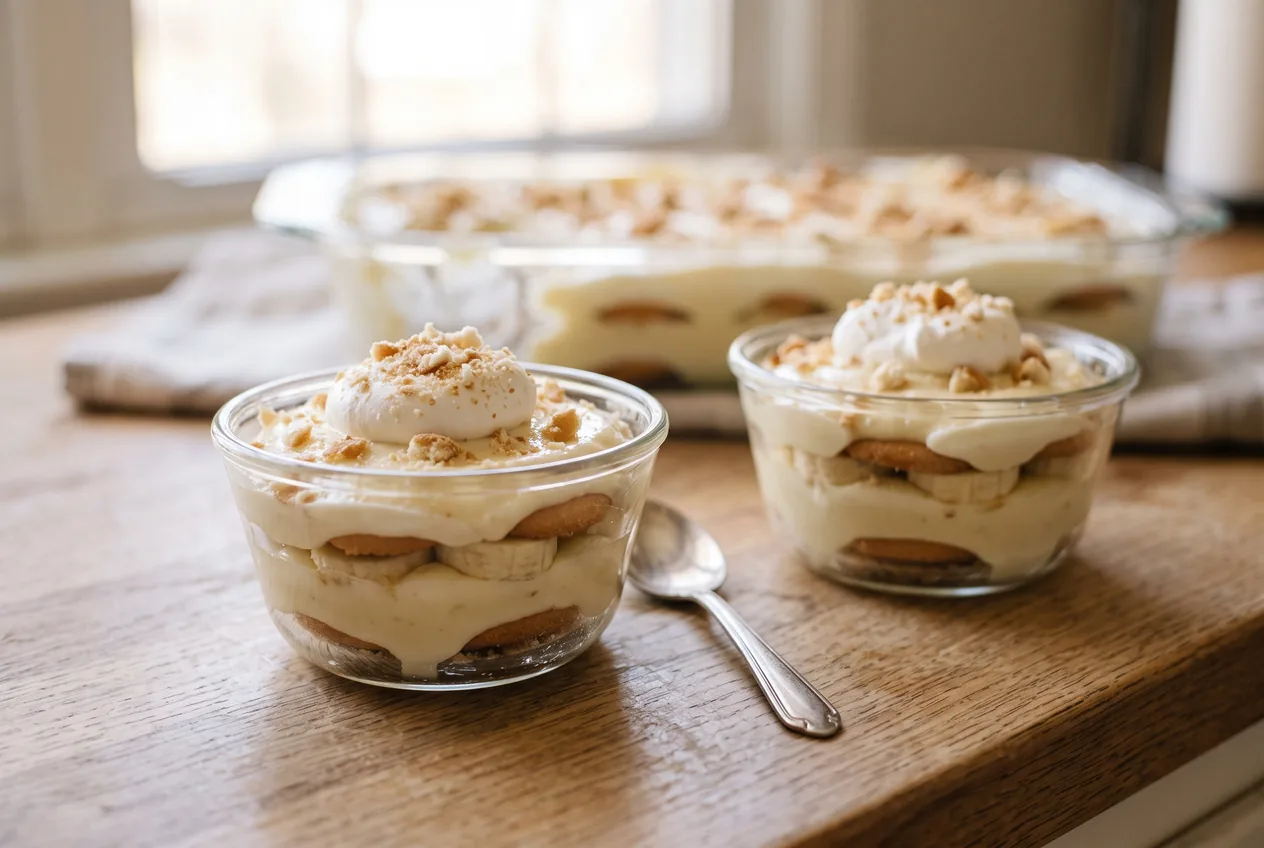
This is the layered banana pudding people actually mean when they say banana pudding: vanilla wafers that have gone cake-soft, sliceable banana, and a thick vanilla pudding lightened with real whipped cream. It costs about $0.88 a serving and feeds twelve out of one 9x13 dish, and the oven never gets turned on. Two things do most of the work. The pudding is set with less liquid than the box calls for, because a pudding thickened for drinking will not hold a layer, and the sweetened condensed milk that replaces some of that liquid also carries the flavour. And the cream is whipped separately and folded in rather than stirred, which is what keeps the texture light instead of dense and gluey. The rest is patience: four hours in the fridge is not a suggestion, it is the step that turns dry wafers into the soft cake-like layer that makes this dessert what it is.
Recipe from Budget Plates · https://www.budgetplates.com/banana-pudding
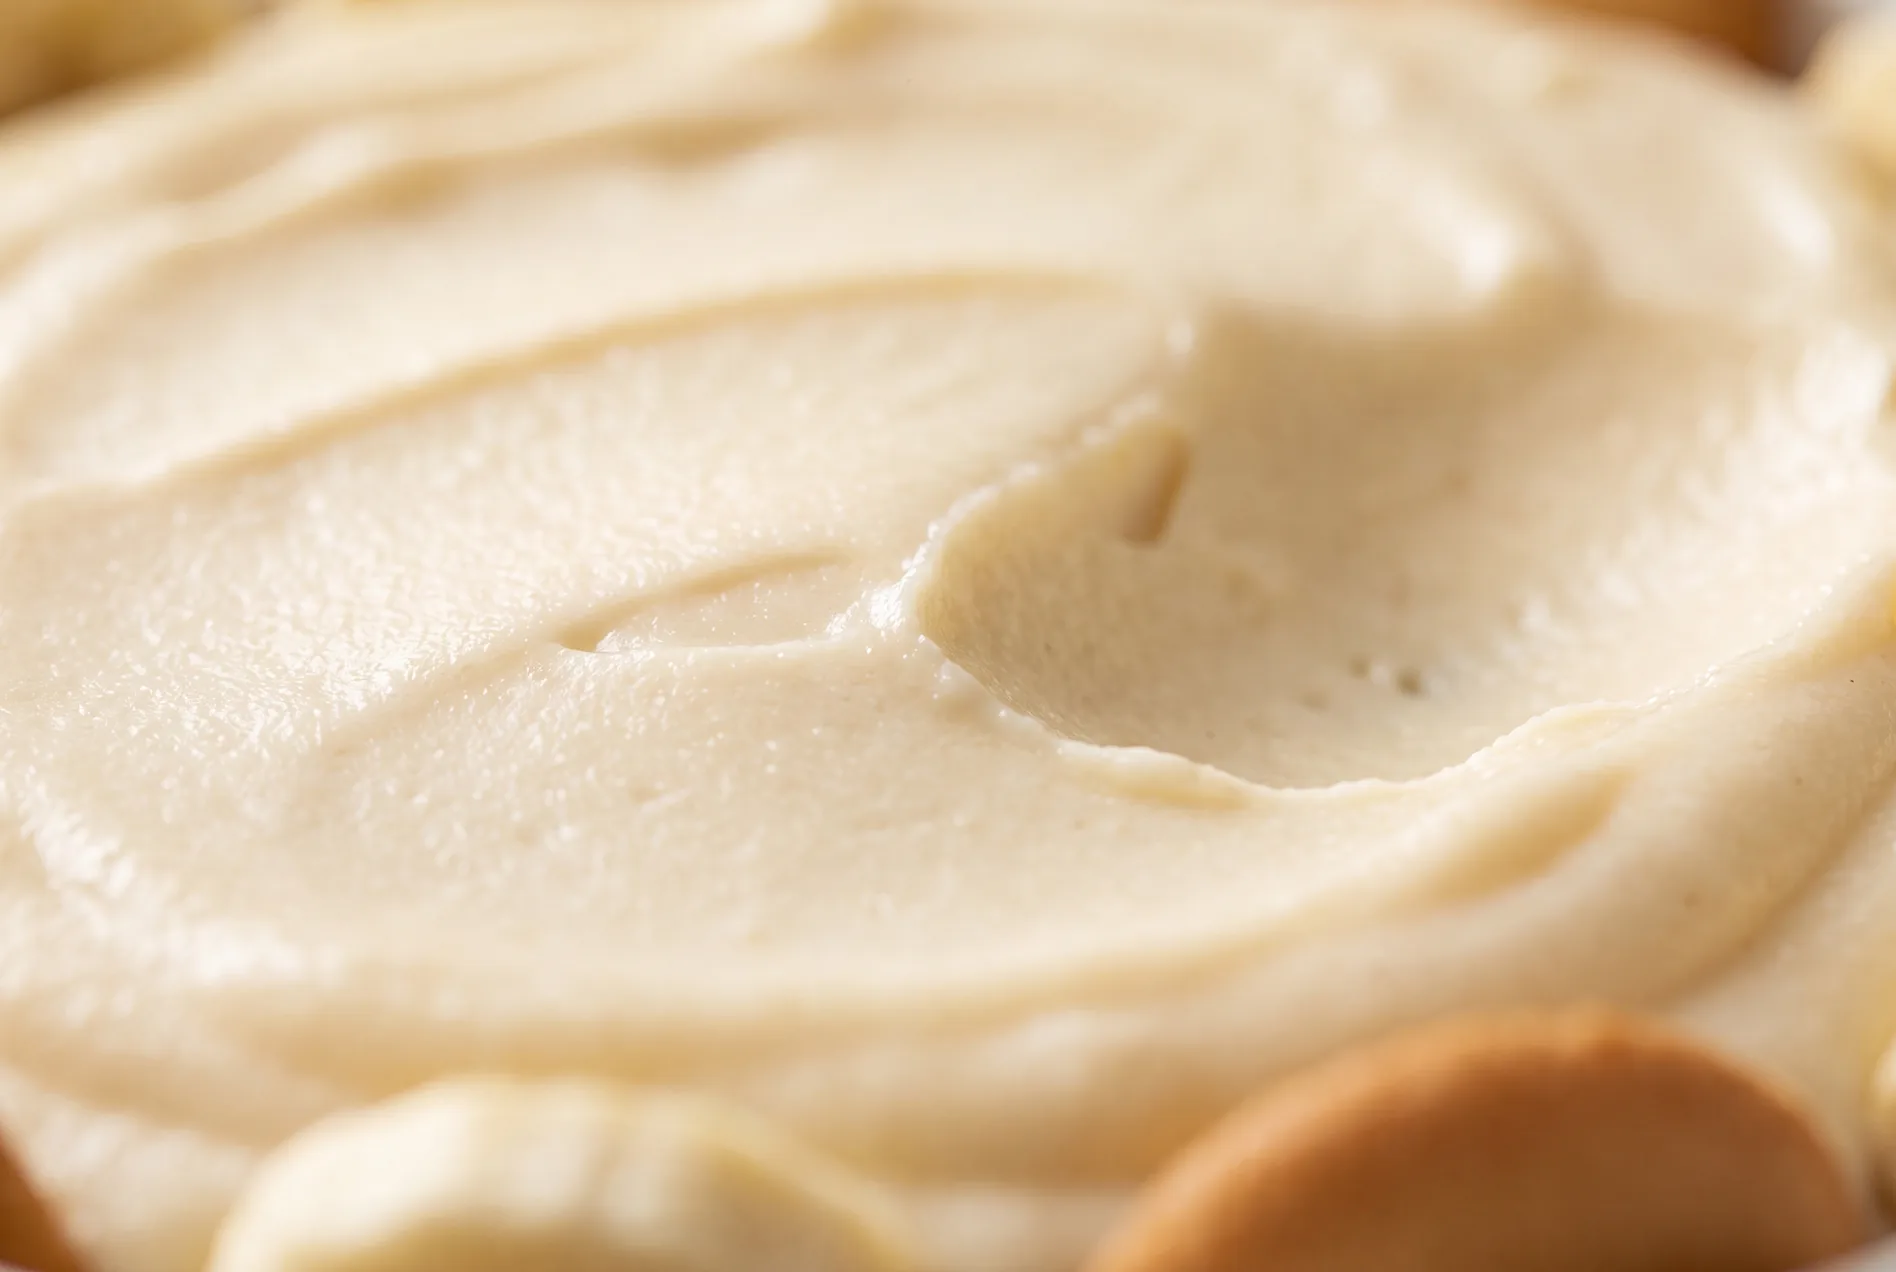
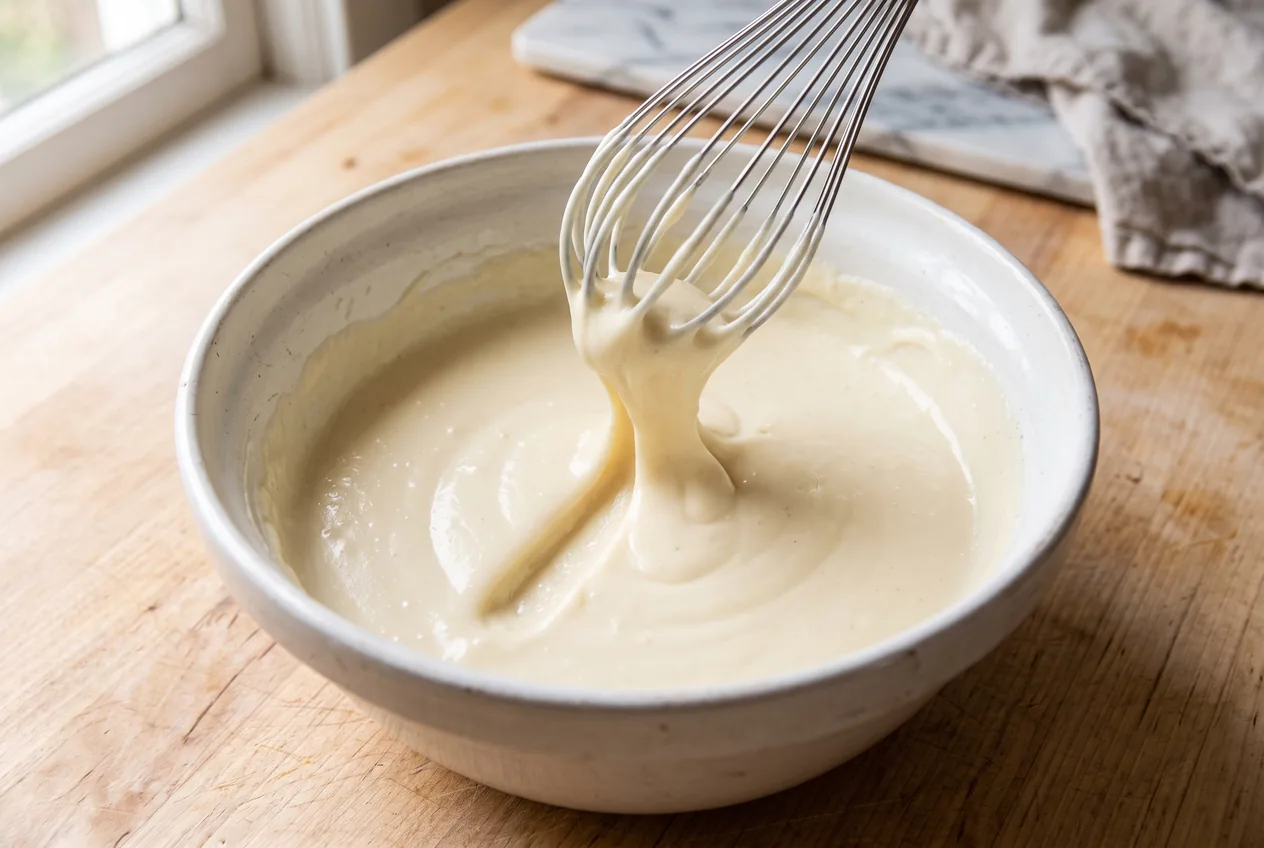
In a large bowl, whisk the pudding mix, cold milk, sweetened condensed milk and salt together for a full 2 minutes, until there are no dry pockets and the mixture visibly thickens. Cover and refrigerate for at least 1 hour, until it is firm enough that a whisk drawn through it leaves a trail. This is deliberately less liquid than the pudding boxes call for. A pudding mixed to drinking consistency will not hold a layer, and it is the main reason home banana pudding turns soupy.
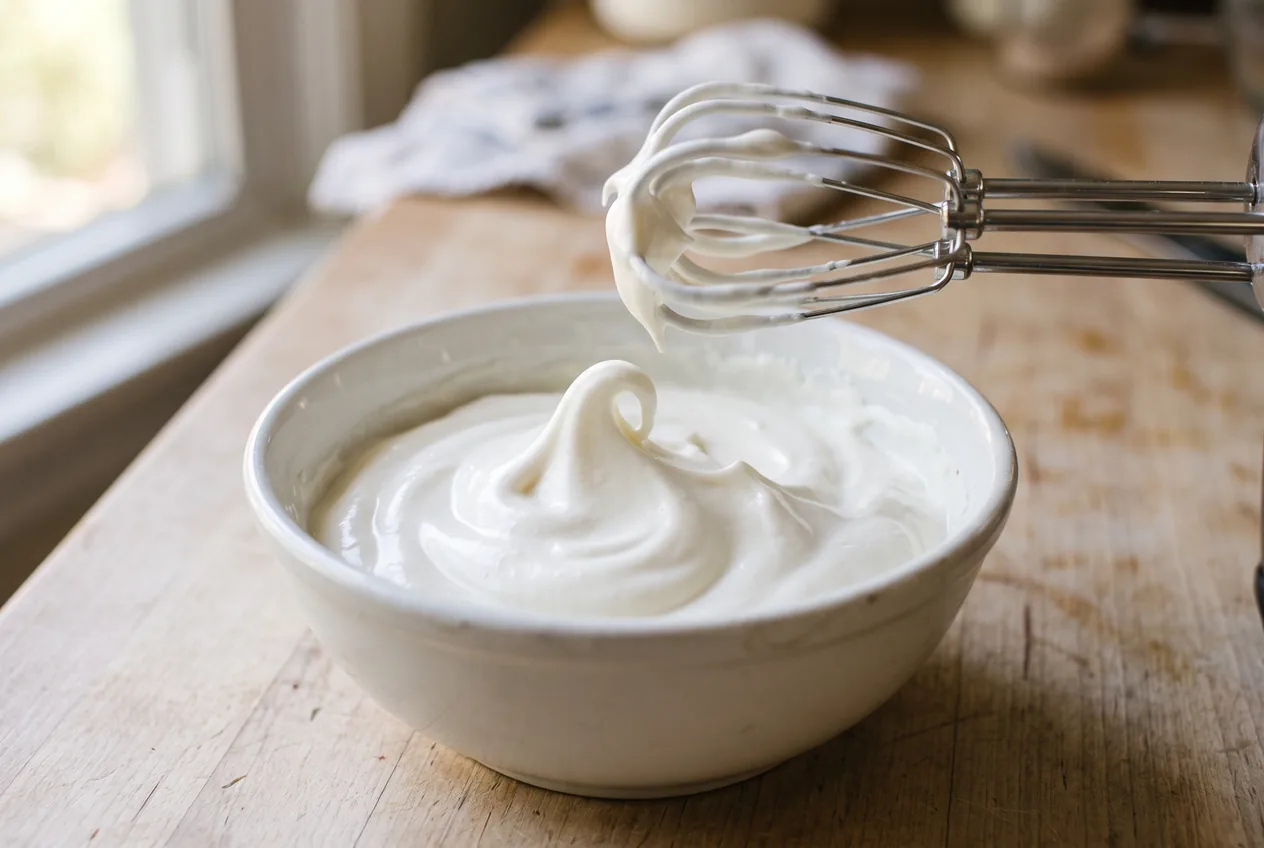
Whip the cold cream with the sugar and vanilla until it holds medium peaks, about 3 minutes with a hand mixer. Medium means the peak curls over at the tip when you lift the beater. Stop there. Cream taken to stiff peaks breaks into a grainy, buttery texture the moment you fold it into something heavy, and it will not smooth back out.
Fold about half the whipped cream into the chilled pudding in three additions, cutting down through the middle with a spatula and lifting rather than stirring in circles. Stop as soon as it is streak-free. Refrigerate the remaining cream, covered, for the top. Folding is what keeps this light: stirred in, the cream deflates and you end up with a dense, gluey pudding.
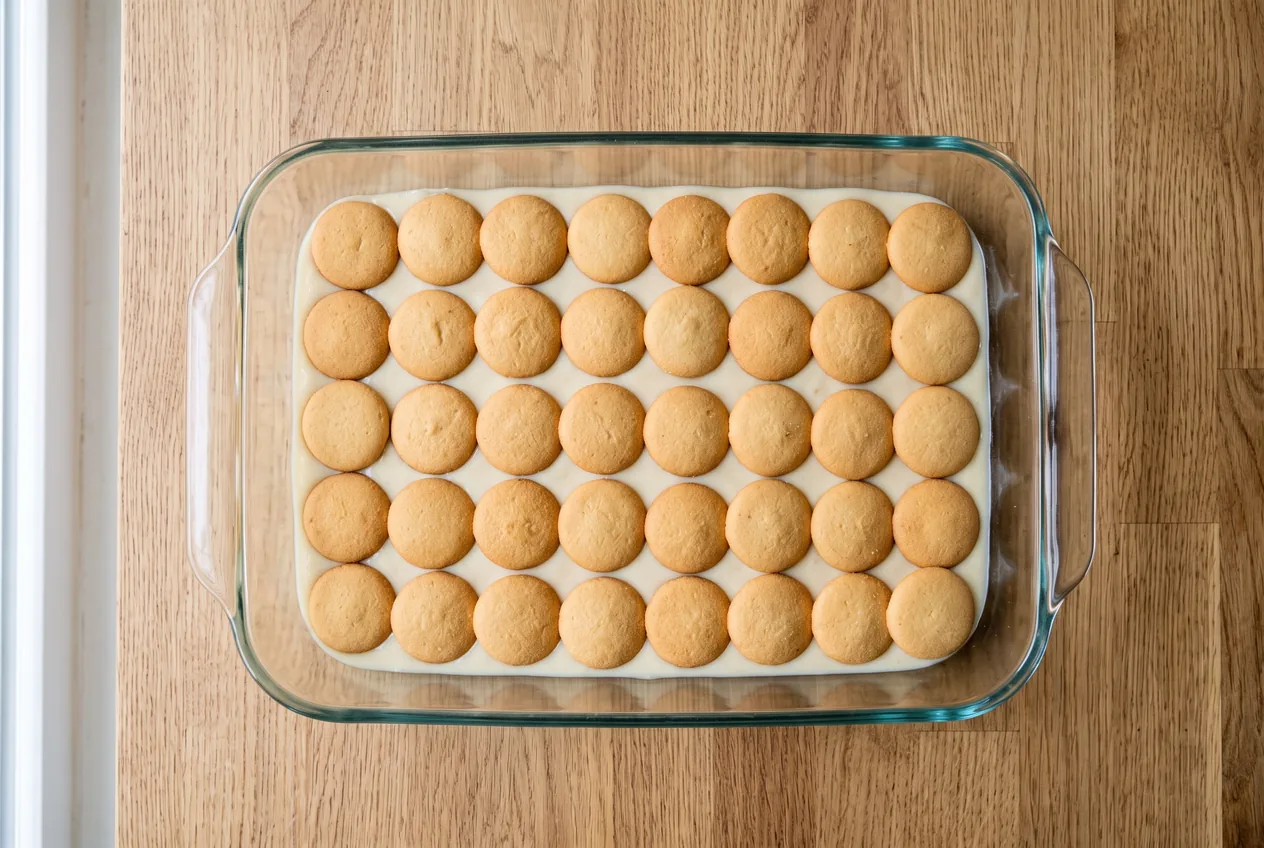
Spread a thin skim of the pudding across the bottom of a 9x13 dish, just enough to coat it. Cover it with a close single layer of vanilla wafers, flat side down, about 28 cookies. The skim underneath glues the wafers in place and starts softening them from both sides, so the bottom layer does not stay dry and gritty.
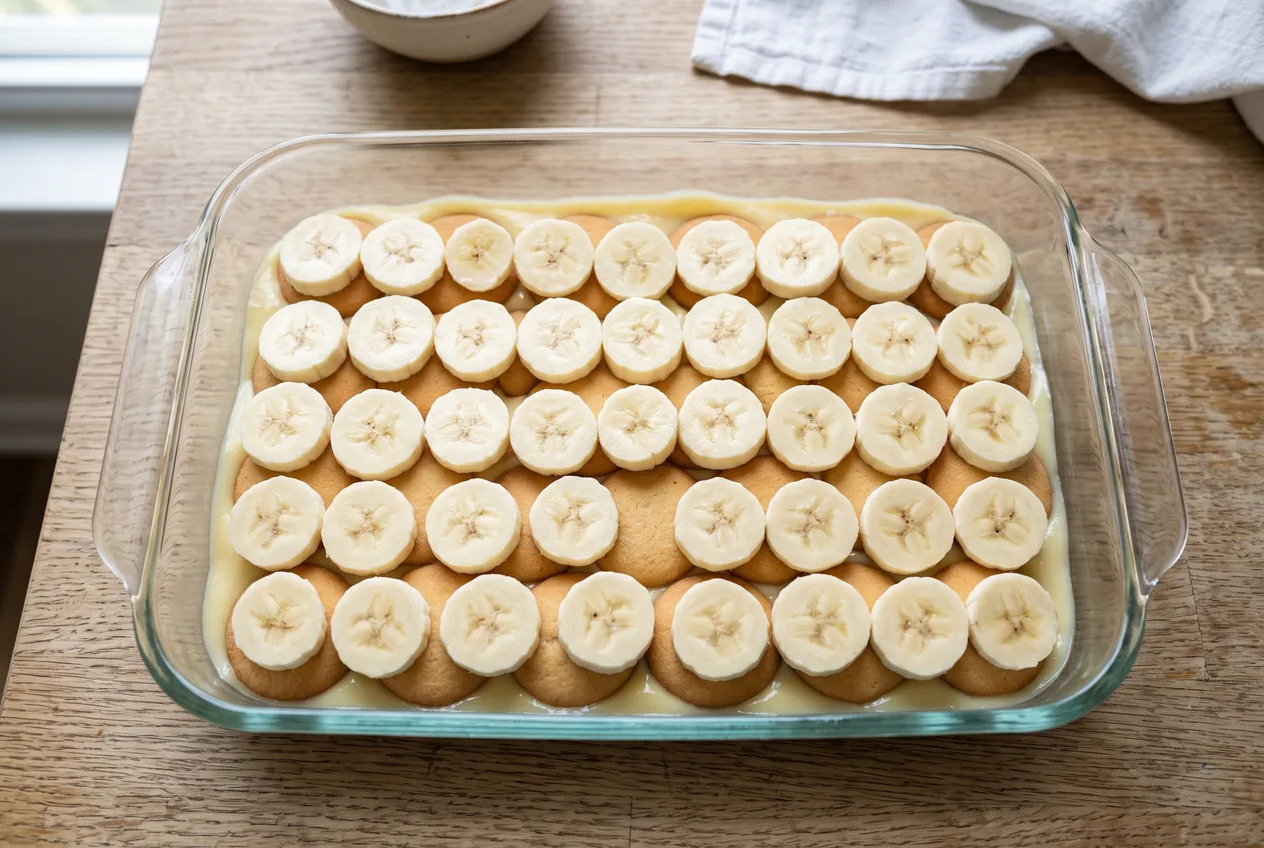
Slice 2 of the bananas about a quarter inch thick and lay them over the wafers in one close layer, slices barely overlapping. Spread a third of the remaining pudding over the top and repeat: wafers, the last 2 sliced bananas, pudding. Slice the bananas as you go rather than all at once, since exposed slices start browning within about 15 minutes. Quarter inch matters: thicker slices stay firm and slide out when you scoop, thinner ones vanish into the pudding.
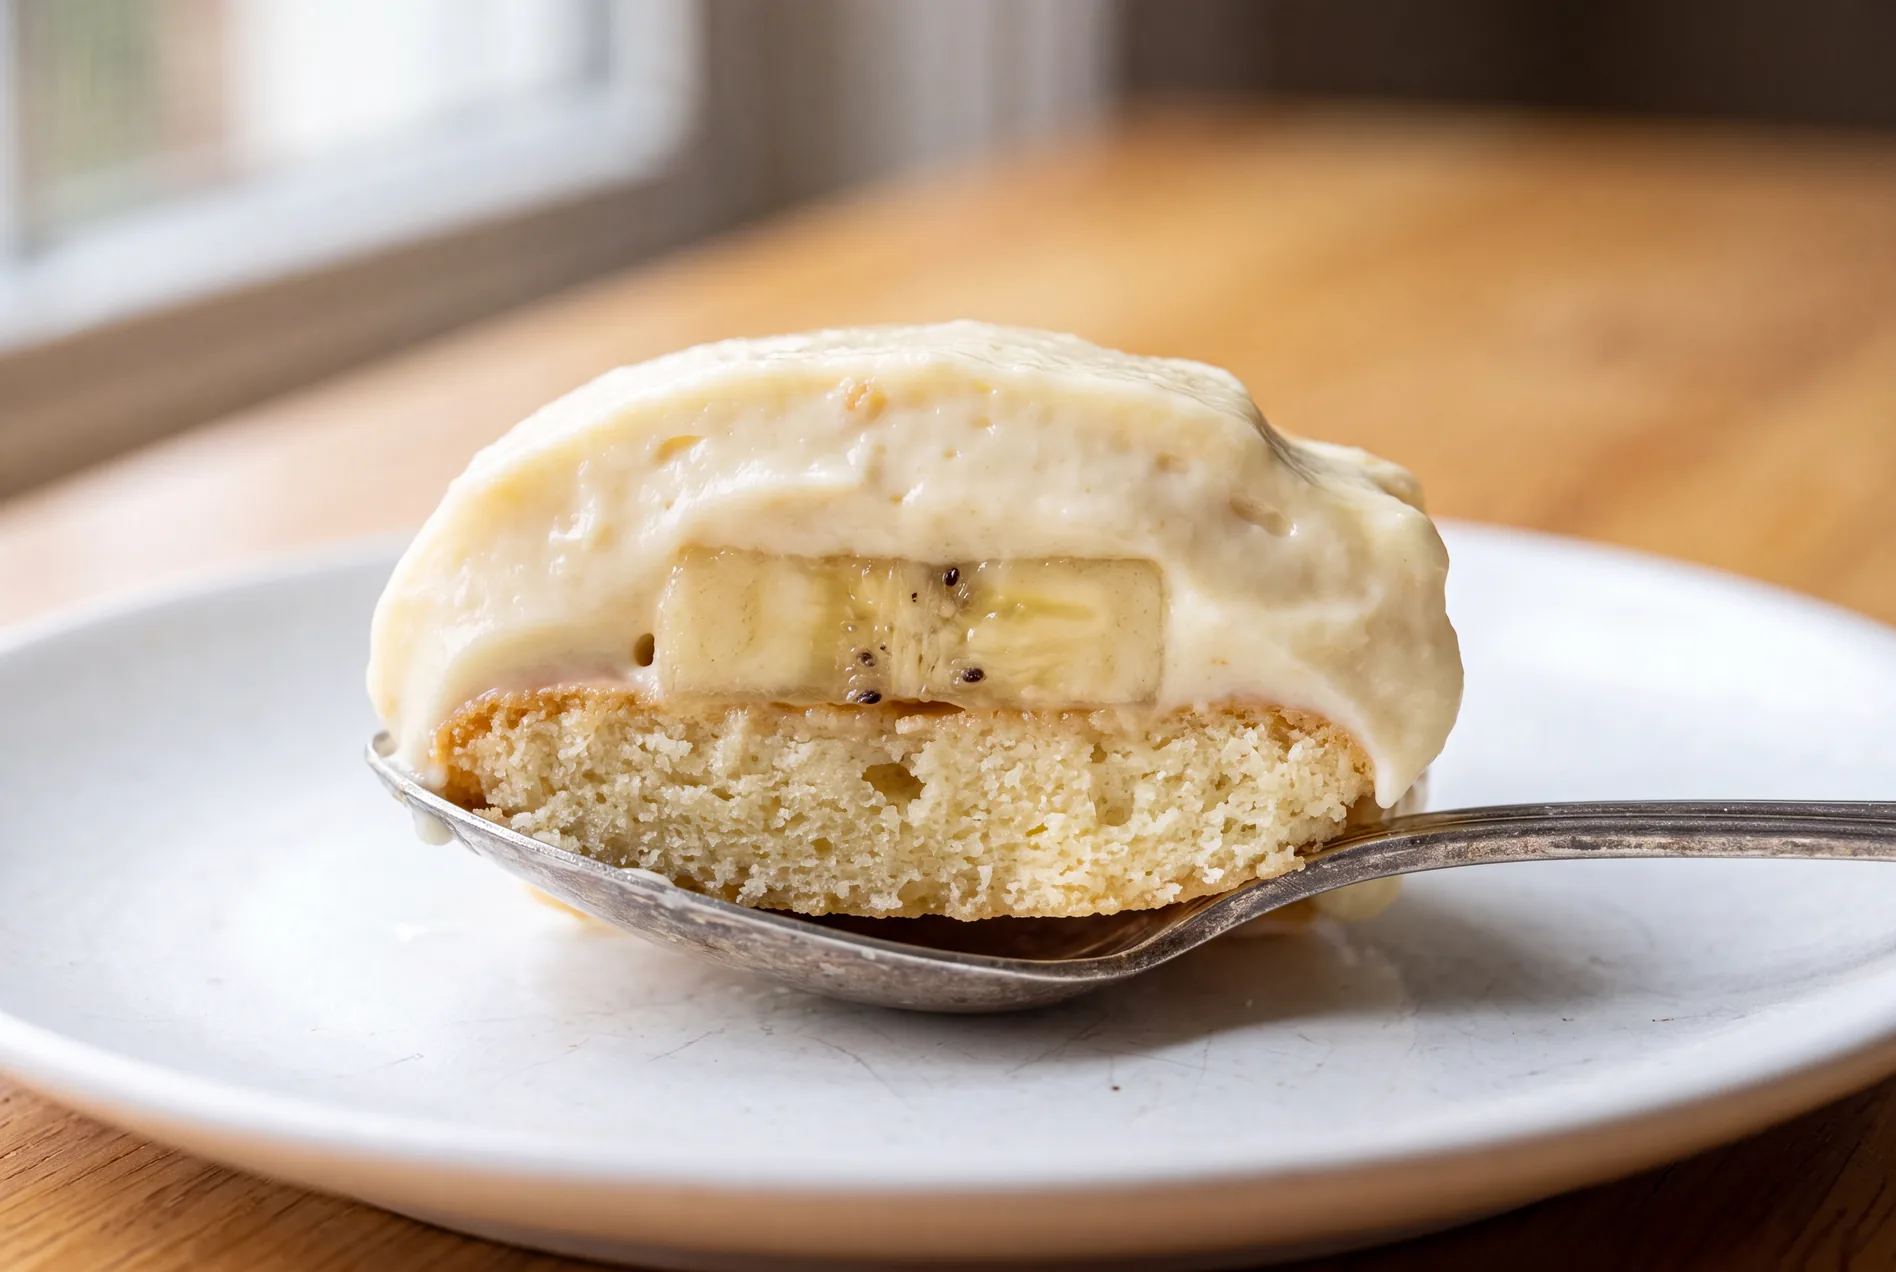
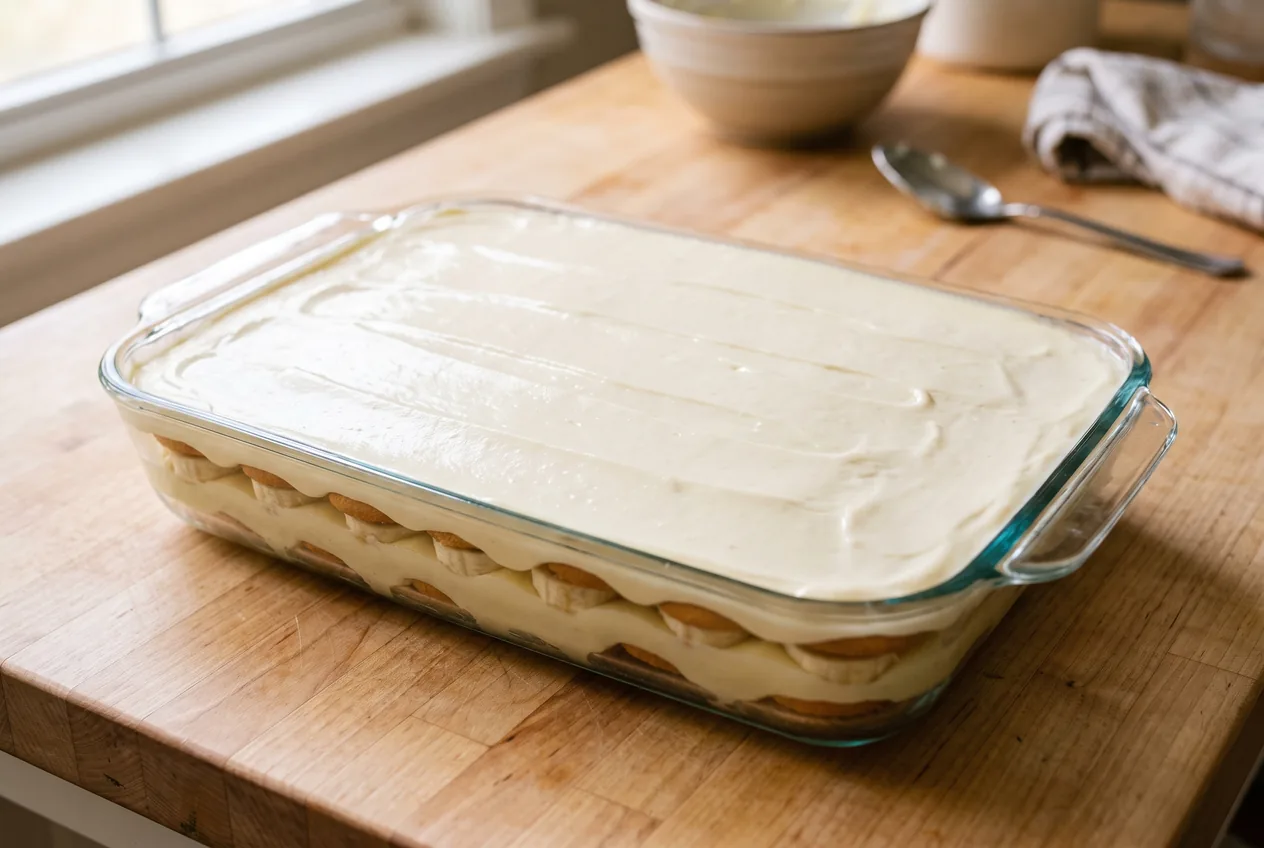
Spread the last of the pudding right to the edges so no banana or wafer is left exposed to air, which is what browns and dries. Cover and refrigerate for at least 4 hours, or overnight. This is the step that makes the dessert: the wafers draw moisture out of the pudding and turn cake-soft. At 1 hour they are still crunchy and the layers slide apart; by 4 they hold a clean scoop.
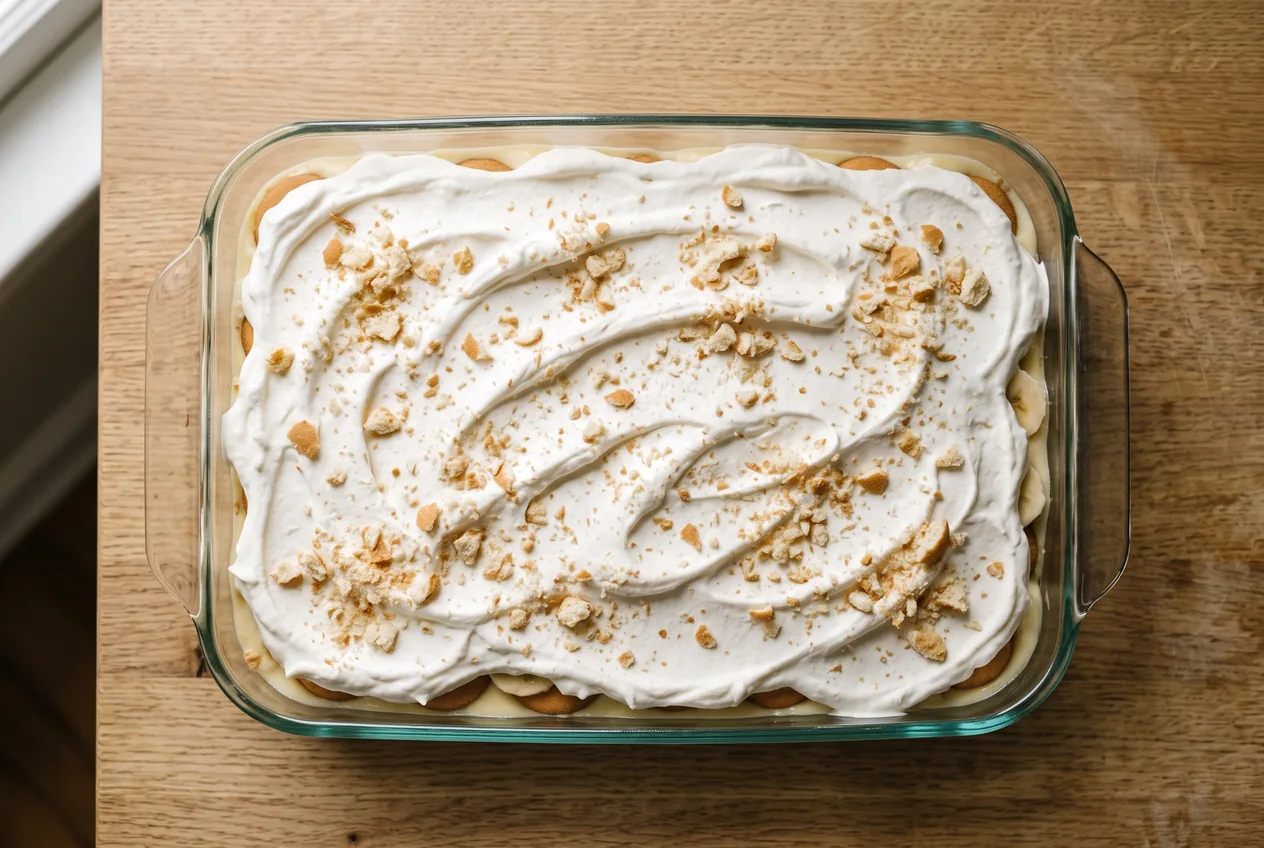
Just before serving, spread the reserved whipped cream over the top and crush a few wafers over it. Serve straight from the fridge. Add the cream at the end rather than before chilling, otherwise it slowly weeps and the top layer goes watery.
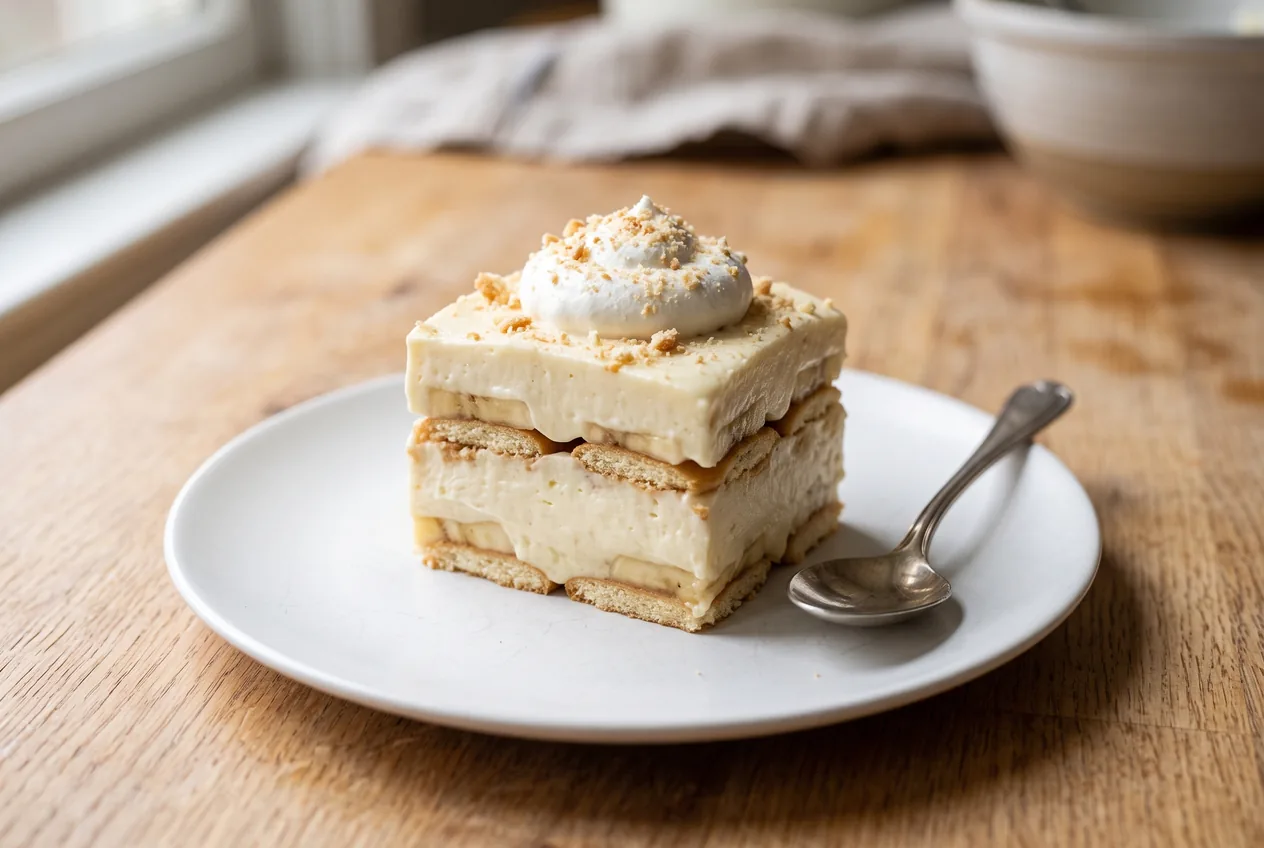
Cover and refrigerate for up to 3 days. It is at its best between 4 and 24 hours, and the texture keeps changing after that: the wafers keep softening, the bananas keep releasing water, and by day three the layers have largely merged into one soft pudding. It still tastes good, it just no longer scoops in bands. The bananas under the sealed pudding stay pale; any slice touching air will darken.
Do not freeze it. The pudding separates on thawing and releases water, the bananas turn to mush, and the wafers go from cake-soft to sodden. This is the rare dessert with no usable freezer route, which is worth knowing before you make a double batch.
None. This is served cold, straight from the fridge, and letting it come to room temperature only makes the layers slump.
Estimates per serving, based on 12 servings from a 9x13 dish, calculated from standard ingredient data. This is a rich dessert. Not a substitute for medical advice.
Almost always too much liquid in the pudding base. Boxed instant pudding is mixed to a spoonable consistency for eating on its own, and that is too loose to hold a layer once bananas and wafers start releasing water into it. This recipe uses 2 cups of milk plus the condensed milk for two boxes of mix, noticeably less than the boxes direct, which is what makes it set firm. The other cause is stirring the whipped cream in instead of folding, which knocks the air out and thins the mixture.
At least 4 hours, and overnight is better. This is not just about getting it cold. The wafers draw moisture out of the pudding and turn cake-soft, and that transformation is the point of the dessert. At 1 hour the wafers are still crunchy and the layers slide apart when you scoop. At 4 they hold a clean portion.
Keep them away from air. Browning is oxidation, so any slice with pudding above and below it stays pale for days, and any slice left exposed at the surface darkens within the hour. Spread the top layer of pudding right to the edges so nothing peeks through, slice the bananas as you layer rather than all at once, and skip the decorative banana slices on top unless you are serving immediately.
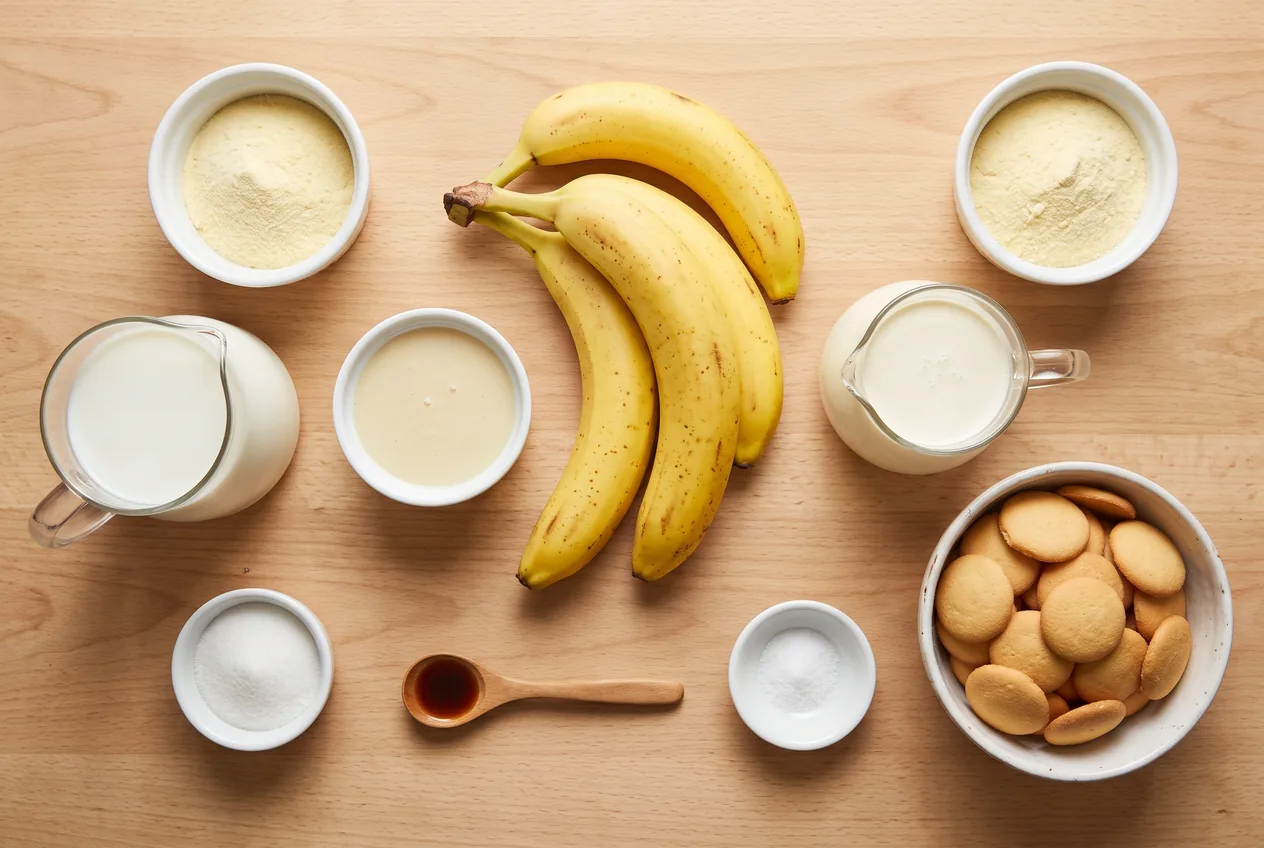
Yellow with a few brown freckles. That is one stage less ripe than you would want for banana bread. Underripe green-tipped bananas taste starchy and stay too firm to cut with a spoon, while heavily spotted bananas are soft enough that the slices break down into the pudding and release a lot of water.
Yes, and it is the cheaper and more stable choice. A thawed 12 oz tub replaces the cream, sugar and vanilla, saves about $1.60, and holds up better over three days because it is stabilised. Real cream tastes better on the first day and is what this recipe is written for; the topping is the better call if you are making it well ahead.
Yes, and it is genuinely better made the night before. Assemble it fully but leave the whipped cream topping off, cover, and refrigerate overnight. Spread the reserved cream on just before serving. Adding the topping a day early is the one thing that does not keep: it slowly weeps and leaves a watery film across the top.
Not enough time, or not enough contact with the pudding. Wafers only soften where they touch something wet, so a layer sitting on a dry dish bottom stays crunchy underneath. That is why this recipe starts with a thin skim of pudding under the first wafers rather than putting cookies straight into the dish. If it has been under 4 hours, it simply needs longer.
You can, and it is a genuinely different dessert with a richer, eggier flavour. It is also a different technique with its own failure modes, chiefly scrambling the eggs or scorching the base, and it needs a full cool-down before layering or it will cook the bananas. This recipe is the no-bake version, which is what most people are making on a weeknight.
Twelve generous dessert portions of roughly 200 g each, which works out at about $0.88 a serving. Cut into sixteen smaller squares if it is following a full meal. For a crowd, layering it into individual glasses makes portioning easier and chills faster, in about 3 hours.
It was whipped past medium peaks before folding. Cream taken to stiff peaks is already close to separating into butter, and folding it into a heavy pudding pushes it the rest of the way, which is what the grainy, slightly greasy texture is. Stop when the peak curls over at the tip. If it has just started to look grainy, a splash of unwhipped cream folded in by hand will usually bring it back.
As an Amazon Associate, Budget Plates may earn from qualifying purchases.
This one is also part of our American Comfort Classics collection.