Ground Beef
$1.54per plate
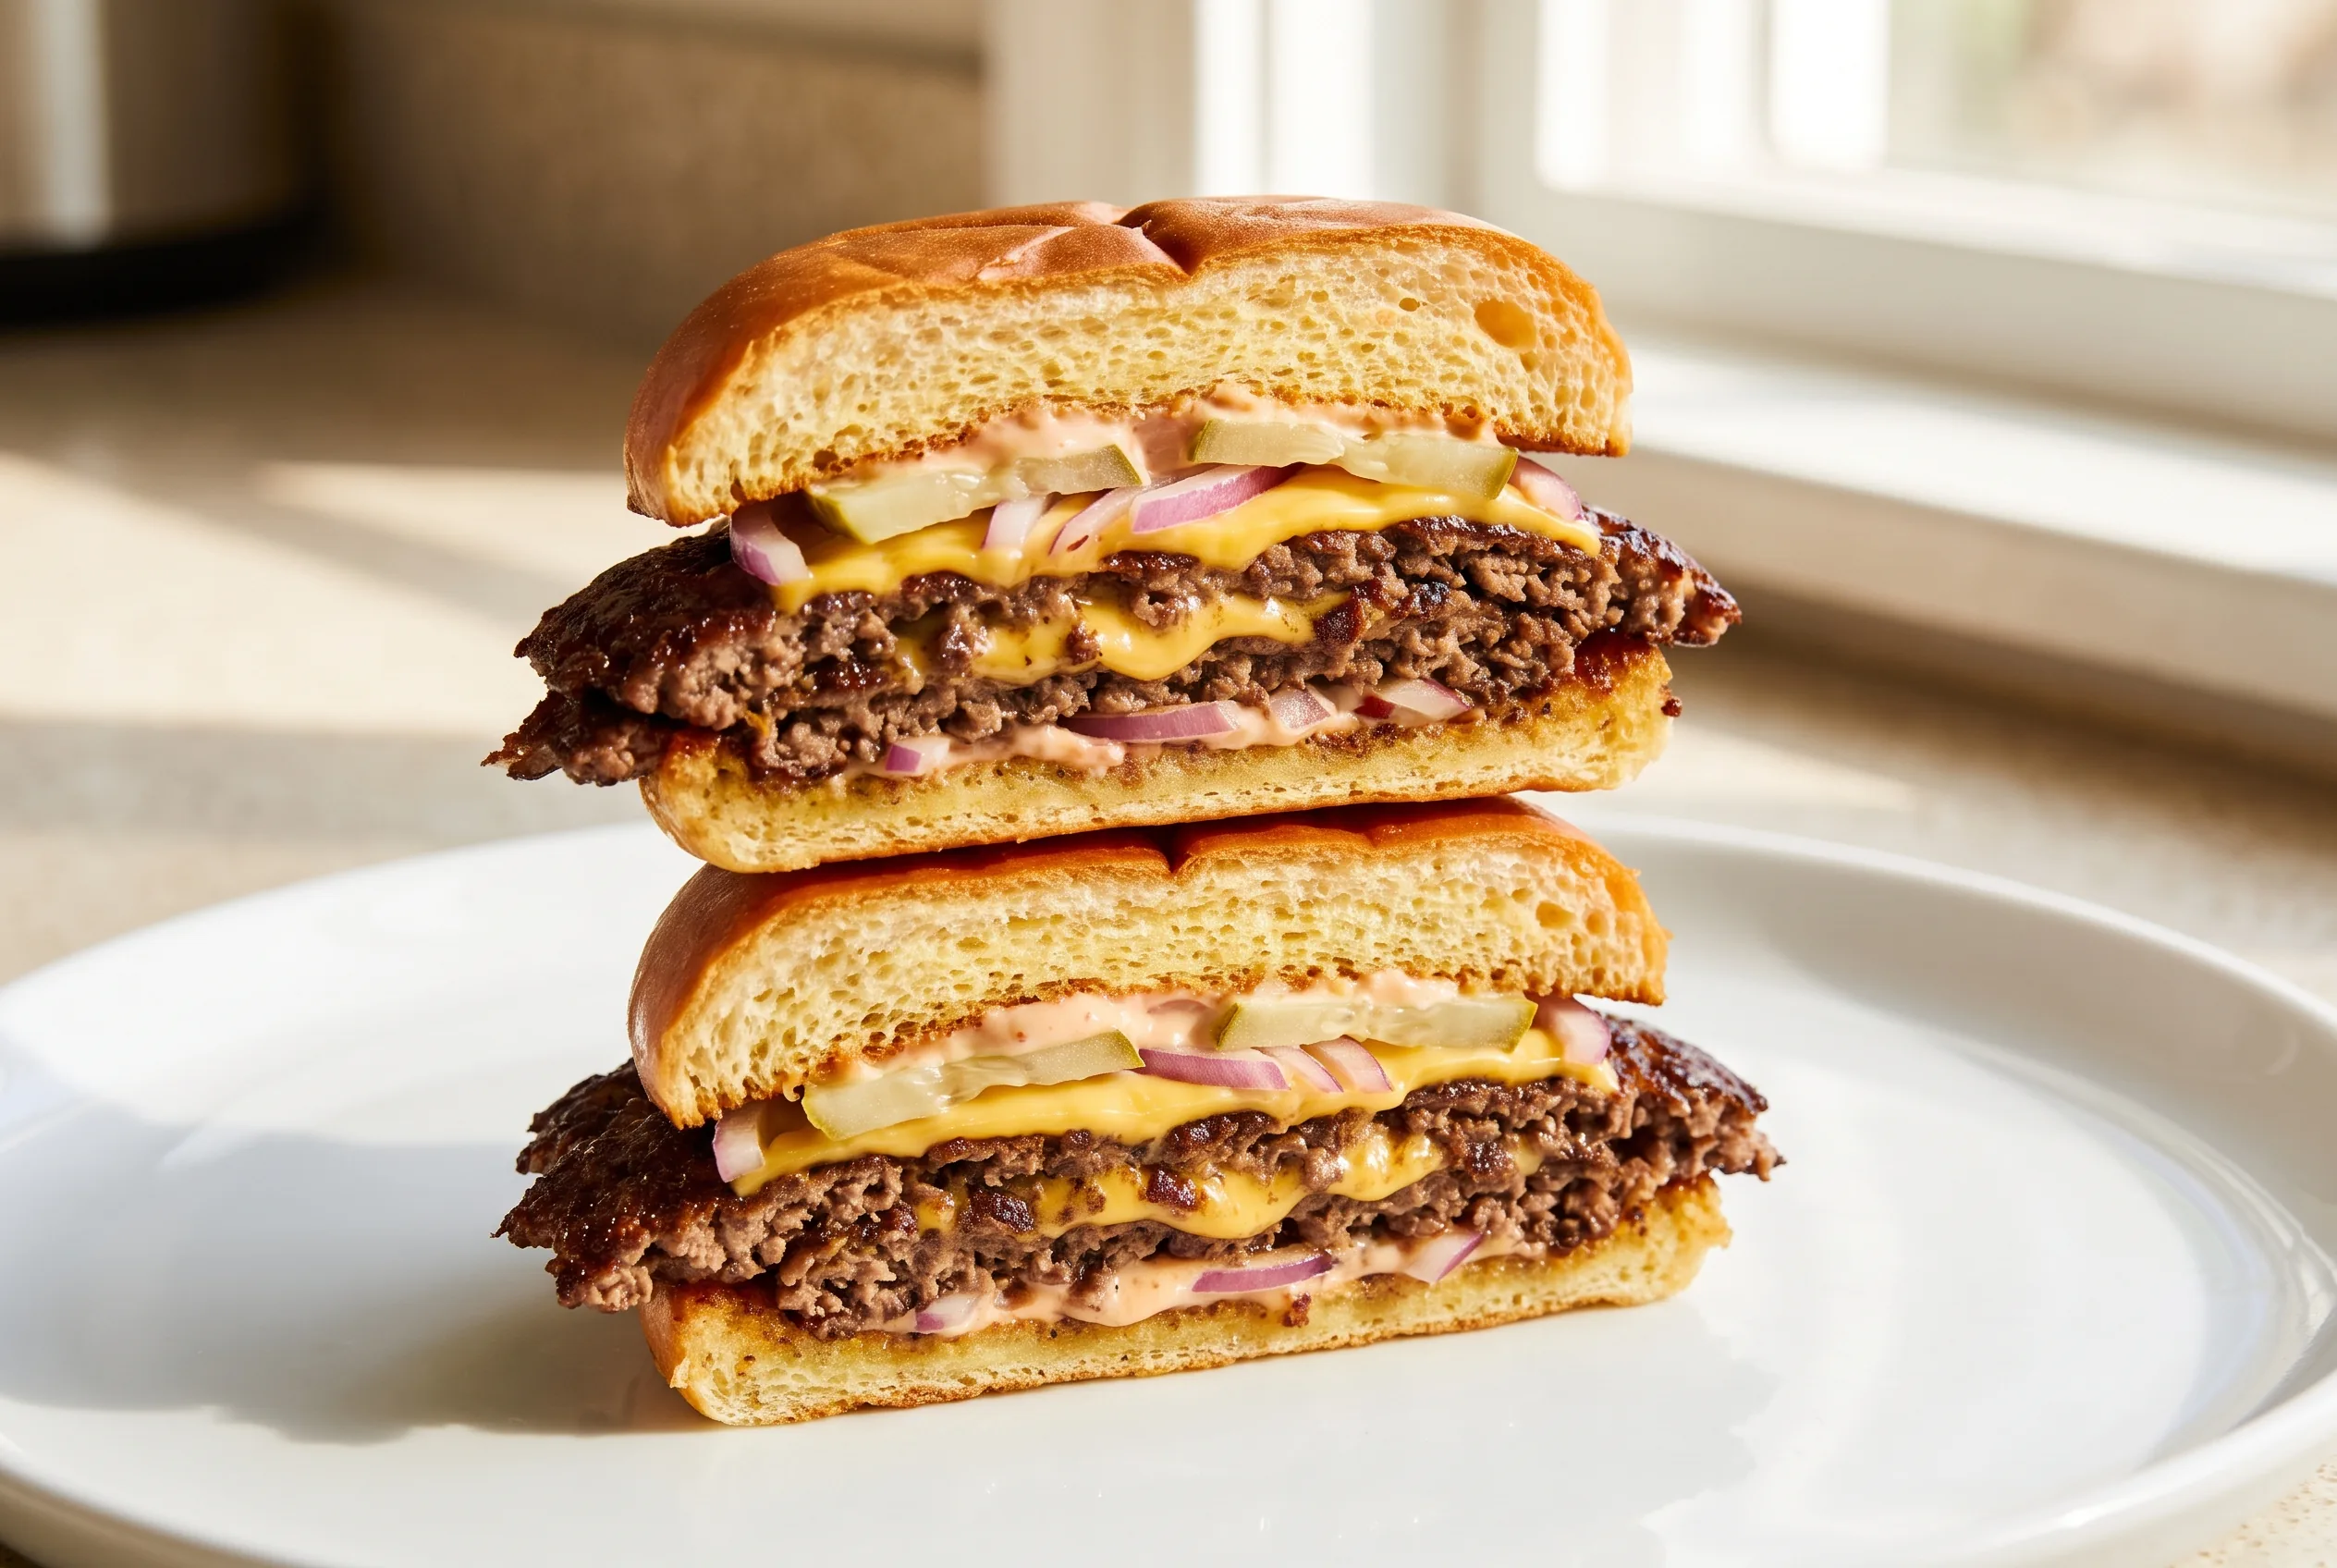
You do not need a grill to make a great burger, and you definitely do not need to pay takeout prices for one. A hot skillet gives you a deep brown crust and a juicy middle in about ten minutes, and a batch of four cheeseburgers comes in around $9.15, or roughly $2.29 a plate. Below is the quick answer, a cooking-time and temperature chart, the full method, and fixes for the usual stovetop burger problems — with the cost of every ingredient on the table before you cook.
Recipe from Budget Plates · https://www.budgetplates.com/how-to-cook-burgers-on-the-stove
These times are for 80/20 patties in a hot skillet over medium-high heat. They are a starting point: pan type, patty thickness, starting temperature, your stove's output, and the meat's fat content all change the timing. Whatever the clock says, a burger is done for food safety when the center reaches 160°F.
| Patty (size / thickness) | Heat | First side | Second side | Approx. total | Finish temp | Visual cue |
|---|---|---|---|---|---|---|
| Smash / thin (~1/4 lb, 1/4 in) | Medium-high | 2–3 min | 1–2 min | ~4 min | 160°F | Deep, lacy crust; edges set |
| Standard 1/4 lb (~1/2 in) | Medium-high | 3–4 min | 2–3 min | ~6–7 min | 160°F | Juices bead on top before the flip |
| Thick 1/3 lb (~3/4 in) | Sear, then medium | 4–5 min | 3–4 min | ~8–9 min | 160°F | Lower heat after searing so the center catches up |
| Steakhouse 1/2 lb (~1 in) | Sear, then medium + lid | 4–5 min | 4–6 min | ~10–12 min | 160°F | Cover for the last few minutes to finish the center |
| Frozen 1/4 lb patty | Medium (not high) | 5–6 min | 4–5 min | ~10–12 min | 160°F | Cook from frozen; flip a few times, no thawing |
Color is not a reliable doneness test — ground beef can turn brown before it is safe, or stay pink after it is. The only sure way is an instant-read thermometer pushed into the center of the patty, not touching the pan. According to the USDA, ground beef is safe at a minimum internal temperature of 160°F (71°C) (FoodSafety.gov).
Because grinding mixes any surface bacteria all the way through the patty, ground beef needs a higher safe temperature than a whole steak. The chart shows what each doneness level means, but only the 160°F line meets the USDA safe minimum — treat the lower rows as a reference, not a recommendation.
| Doneness | Internal temp | Center looks | Food-safety note |
|---|---|---|---|
| Well done (USDA safe) | 160°F (71°C) | No pink, firm | ✓ USDA safe minimum for ground beef |
| Medium well | 150–155°F | Faint pink | Below the USDA safe minimum |
| Medium | 140–145°F | Pink center | Below the USDA safe minimum |
| Medium rare | 130–135°F | Red center | Not advised for ground beef |
Any heavy skillet works; the pan mostly changes the crust. Cast iron holds the most heat and gives the deepest, most even browning, which is why it is the stovetop favorite. Stainless steel sears well and builds a flavorful fond, but patties grip it until a crust forms — let them release on their own instead of forcing them. Nonstick is fine for weeknight burgers; it browns a little less and should not be run screaming-hot, so use medium-high rather than high.
With 80/20 beef you barely need added fat — the patty renders its own. A teaspoon of oil or a pat of butter helps the first patty release and evens out lean spots. To reduce sticking: preheat the pan fully before the beef goes in, do not move the patties until a crust forms, and flip only once.
This recipe was written and cost-tested with fresh, hand-formed patties, so the times above are for thawed beef. Frozen and thawed burgers do not cook on the same clock — here is how to handle each.
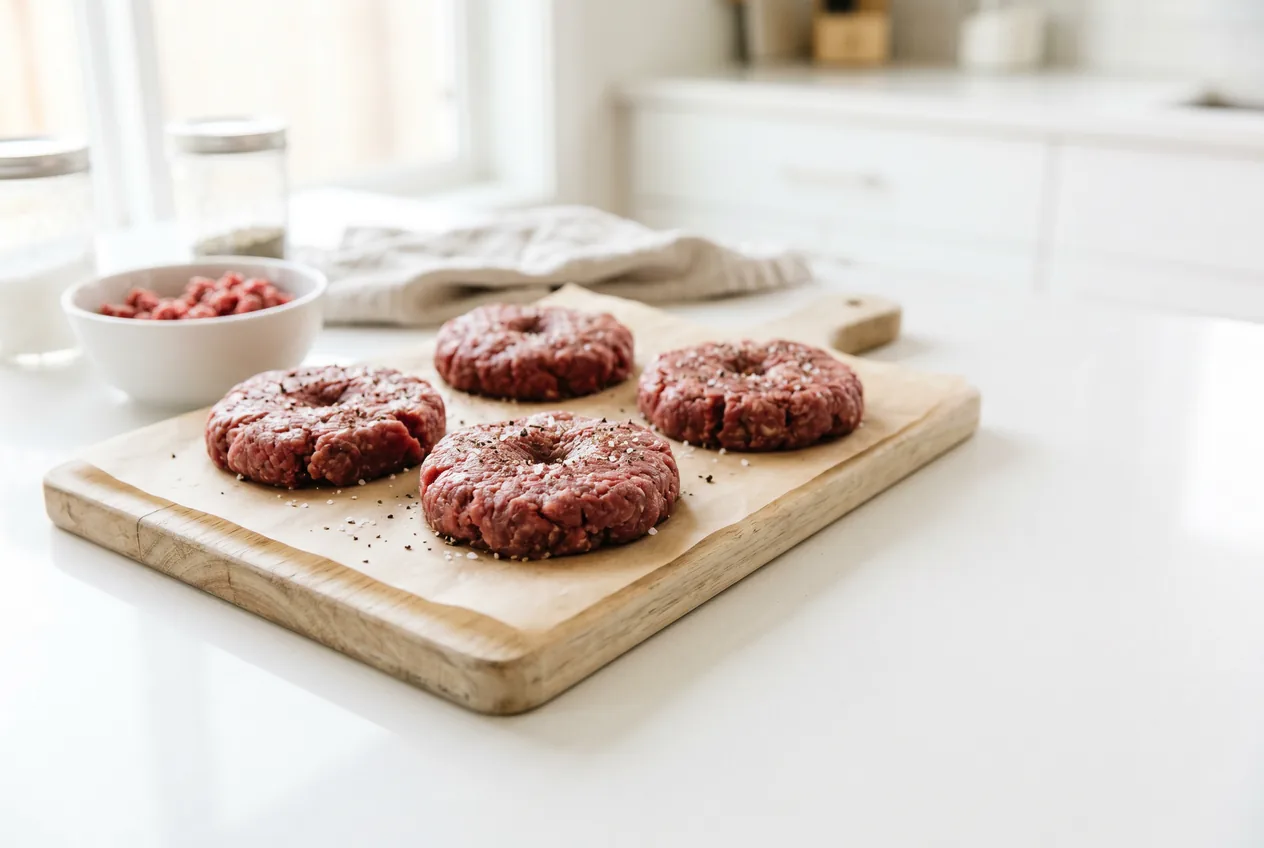
Divide a pound of 80/20 ground beef into four loose balls without kneading it — the less you work the meat, the more tender the burger, and cold beef holds its shape best in the pan. For the full shaping method, see how to make burger patties.
Press each ball into a patty a little wider than your bun, since burgers shrink as they cook. Press a shallow dimple into the center of each patty with your thumb so it cooks flat instead of doming up.
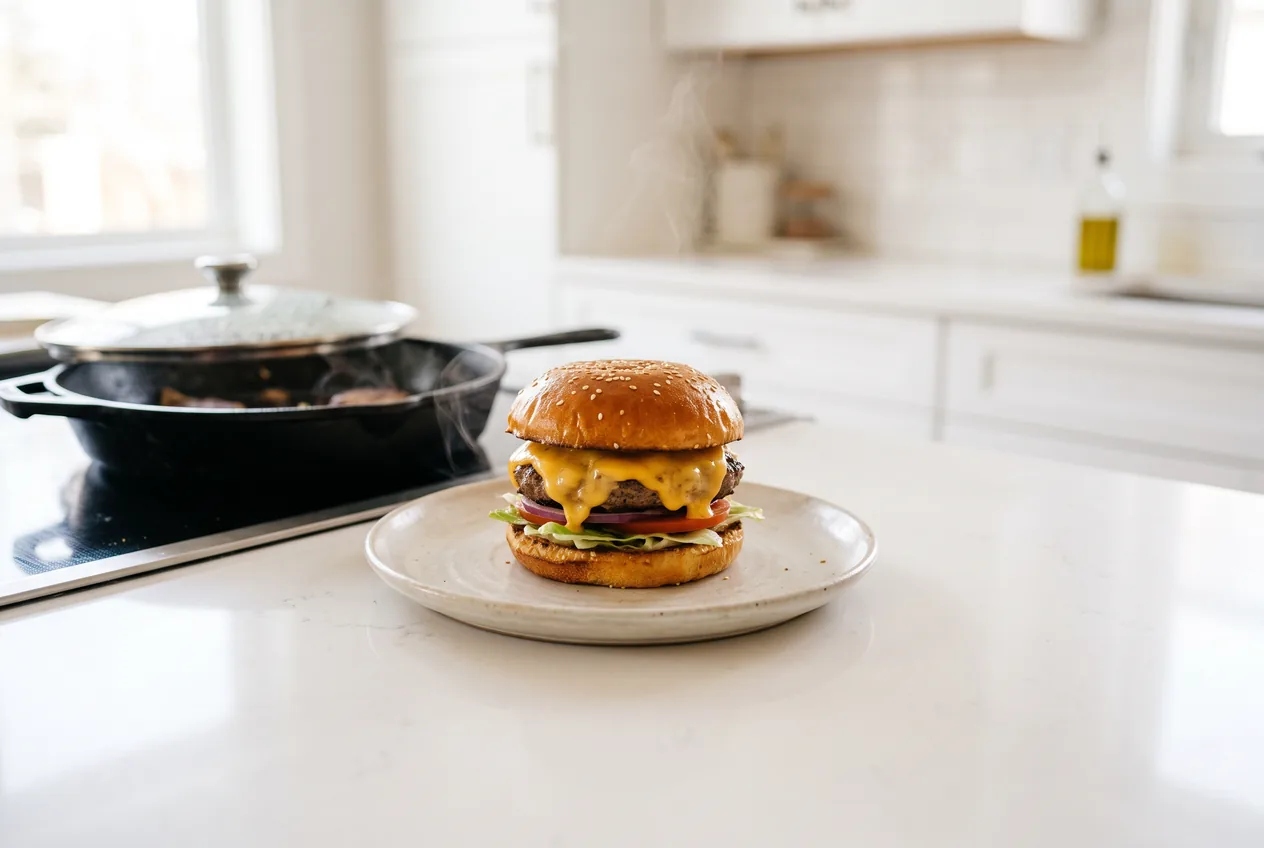
Heat a cast iron or heavy stainless skillet over medium-high for about 2 minutes, then add a teaspoon of oil or butter and let it shimmer. A pan that is not hot enough steams the beef gray instead of browning it, which is the number one stovetop burger mistake.
Salt and pepper the outside of the patties right before they hit the pan. Salt mixed into the meat early makes the texture springy and dense. A pinch of burger seasoning works too.
Set the patties in the hot pan with space between them so they sear instead of steam. Press each one flat for just the first few seconds to set the contact, then leave them alone.
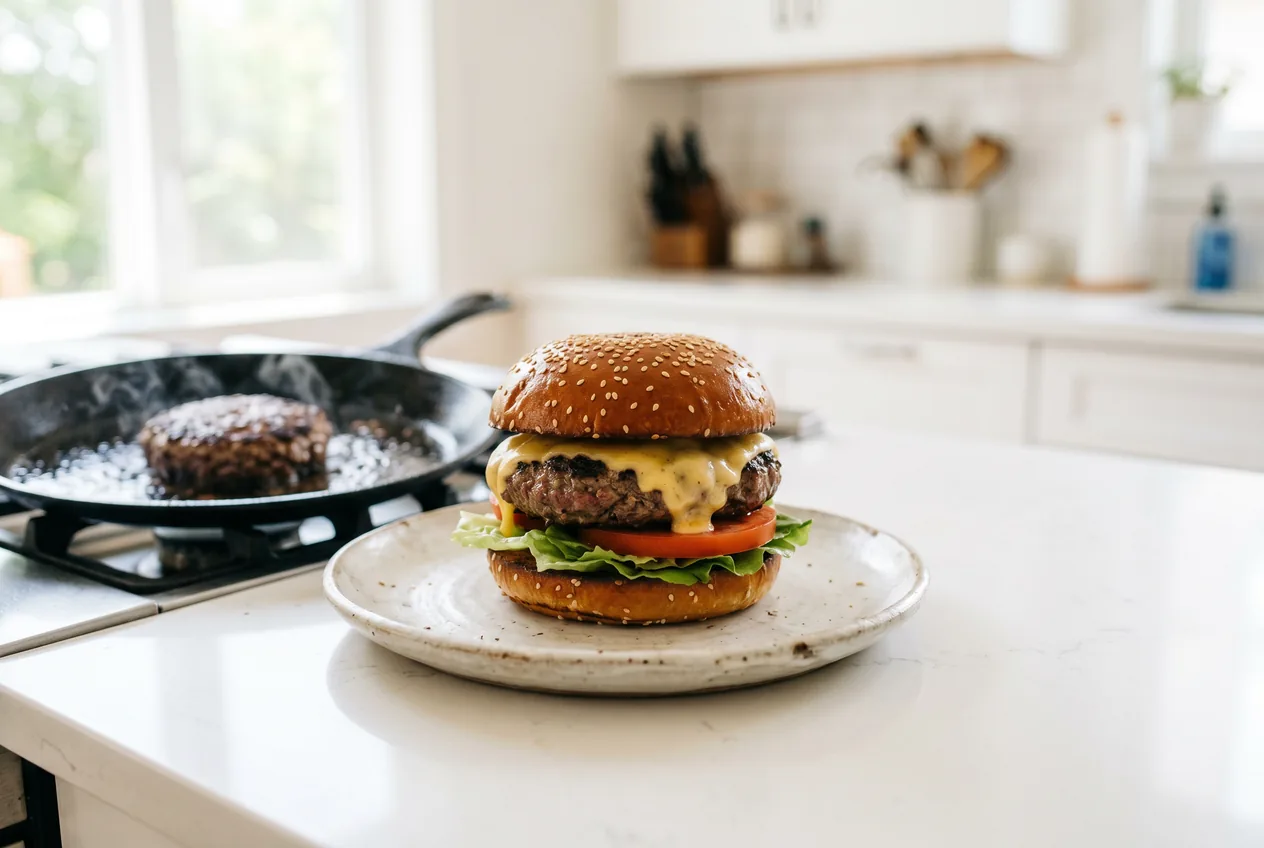
Cook 3 to 4 minutes without moving the patties, until a deep brown crust forms and the juices start to bead on top. That pooling juice is your cue that the first side is ready.
Flip a single time and lay a slice of cheese on each patty. Cook another 2 to 3 minutes, and cover the pan for the last minute so the cheese melts fully.
Push an instant-read thermometer into the center of a patty and pull the burgers at 160°F for ground beef. Color alone will not tell you a burger is done.
Rest the patties a minute while you toast the cut buns face down in the leftover fat. Build each burger with lettuce, tomato, onion, and pickles, and eat while the crust is still crisp.
Store cooked patties and toppings separately in airtight containers in the fridge for up to 3 days. Keep the buns out at room temperature so they do not go soggy.
Freeze cooked patties in a single layer, then bag them for up to 2 months. Raw formed patties freeze even better and cook straight from frozen with an extra couple of minutes per side.
Reheat a cooked patty in a covered skillet over medium-low with a few drops of water, about 3 minutes, so it steams back to juicy instead of drying out. Toast a fresh bun while it warms.
Estimates per assembled cheeseburger, calculated from standard ingredient data. Not a substitute for medical advice.
About 3 to 4 minutes on the first side and 2 to 3 minutes after one flip for a quarter-pound patty over medium-high heat, roughly 6 to 7 minutes total. Thicker or frozen patties take longer, so go by a 160°F center rather than the clock.
For a standard quarter-pound patty, 3 to 4 minutes on the first side to build a crust, then 2 to 3 minutes on the second. Flip only once.
Medium-high for most patties, hot enough to brown fast without burning. Thick patties do best seared on high, then finished over medium so the center catches up.
Only a little. 80/20 beef renders its own fat, but a teaspoon of oil or butter helps the first patty release and evens out lean spots.
Cover the pan for the last minute to melt cheese, or to help a thick patty finish through without over-browning. Thin patties do not need it.
Push an instant-read thermometer into the center; ground beef is safe at 160°F per the USDA. Color is not reliable because beef can brown early or stay pink.
Yes, straight from frozen. Use medium heat so the outside does not scorch, add a few minutes (about 10 to 12 total for a quarter-pounder), flip every couple of minutes, and finish at 160°F.
Right after you flip, so it melts over the last 1 to 2 minutes. Cover the pan to melt it faster.
Yes. Nonstick works for weeknight burgers; it browns a bit less than cast iron and should not be run on high, so cook over medium-high.
A minute is plenty. A short rest lets the juices settle so they stay in the burger instead of running out when you bite in.
As an Amazon Associate, Budget Plates may earn from qualifying purchases.