Ground Beef
$2.29per plate
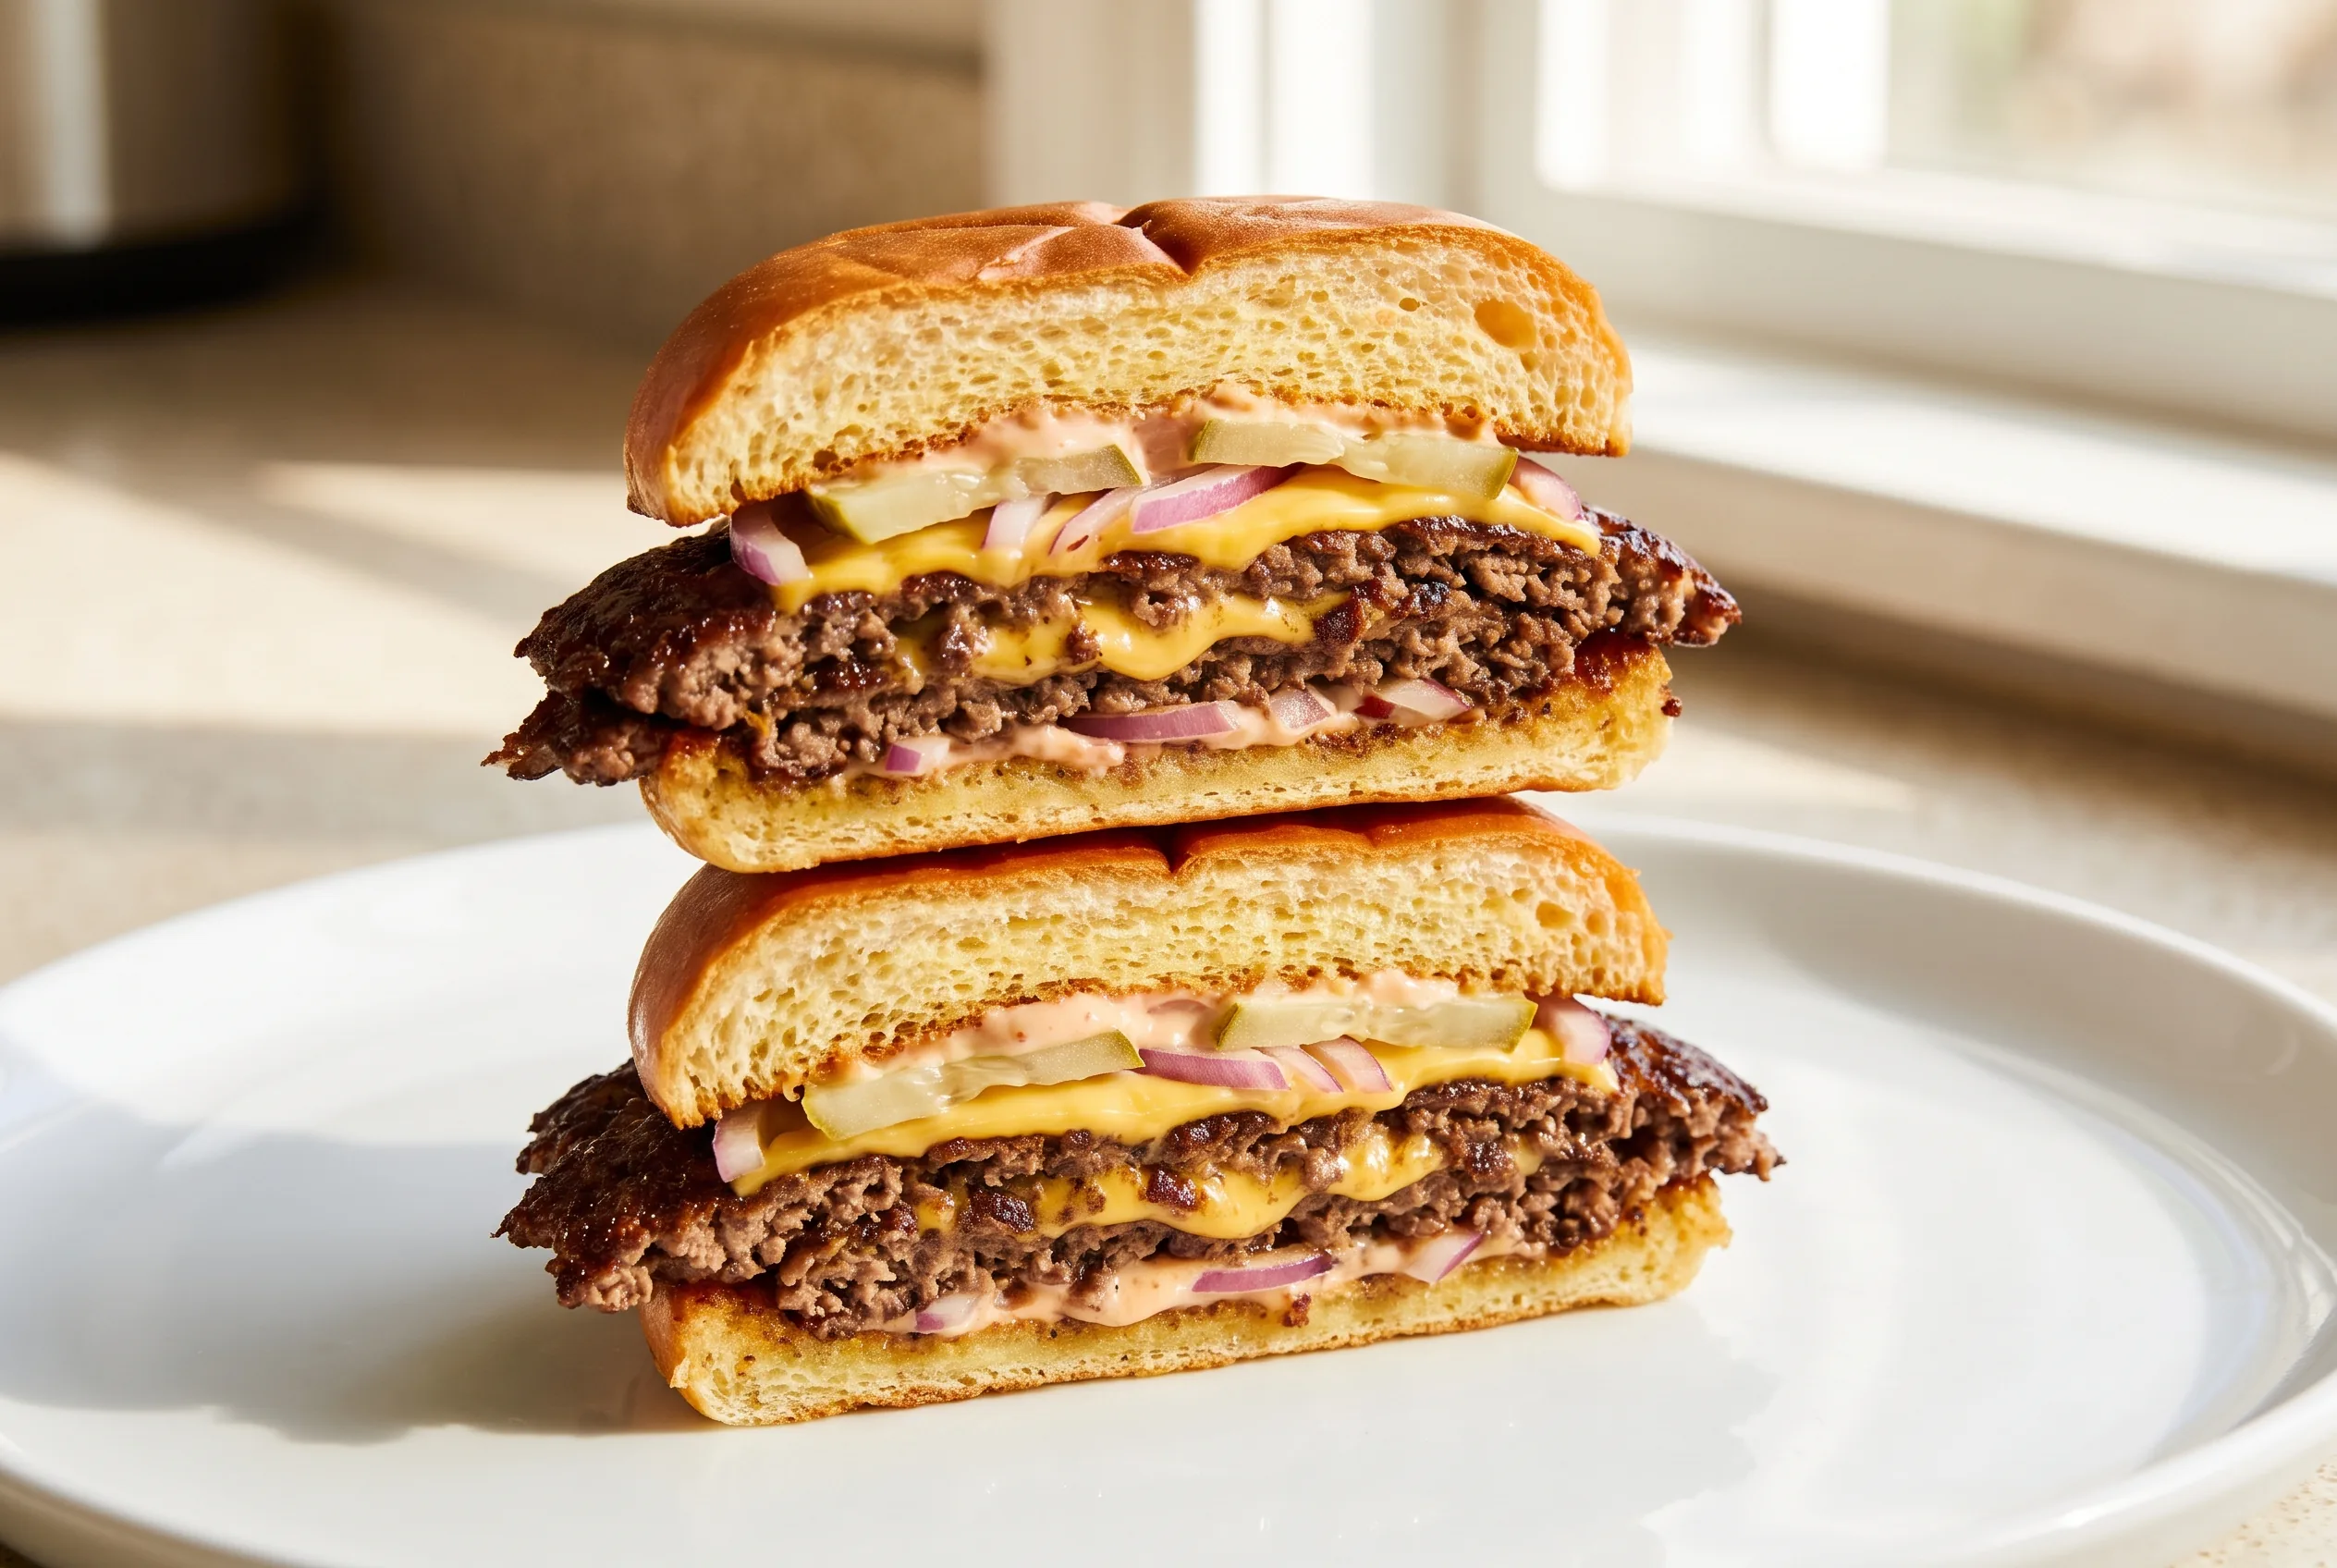
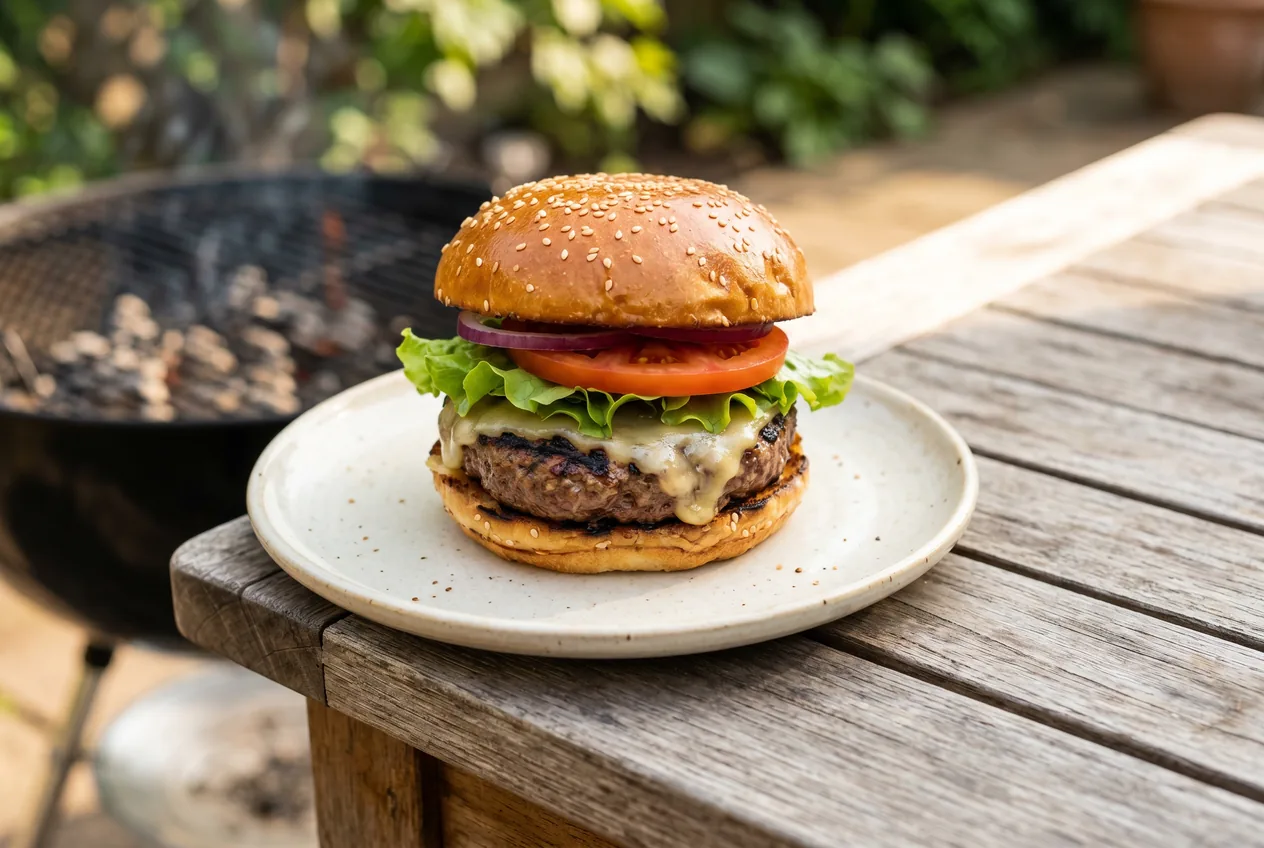
A smash burger gets its crust from one move: pressing thin balls of beef flat the instant they hit a screaming-hot pan, so the surface caramelizes fast and hard. This version stacks two smashed patties per burger with melted American cheese and a quick mayo-ketchup sauce, ready in 20 minutes on the stovetop. Four double-smash burgers come to about $8.94, or $2.23 each. It is a distinct technique from our stovetop burger guide, built for a thin, wide, deeply crusted patty instead of a thicker one.
Recipe from Budget Plates · https://www.budgetplates.com/smash-burger-recipe
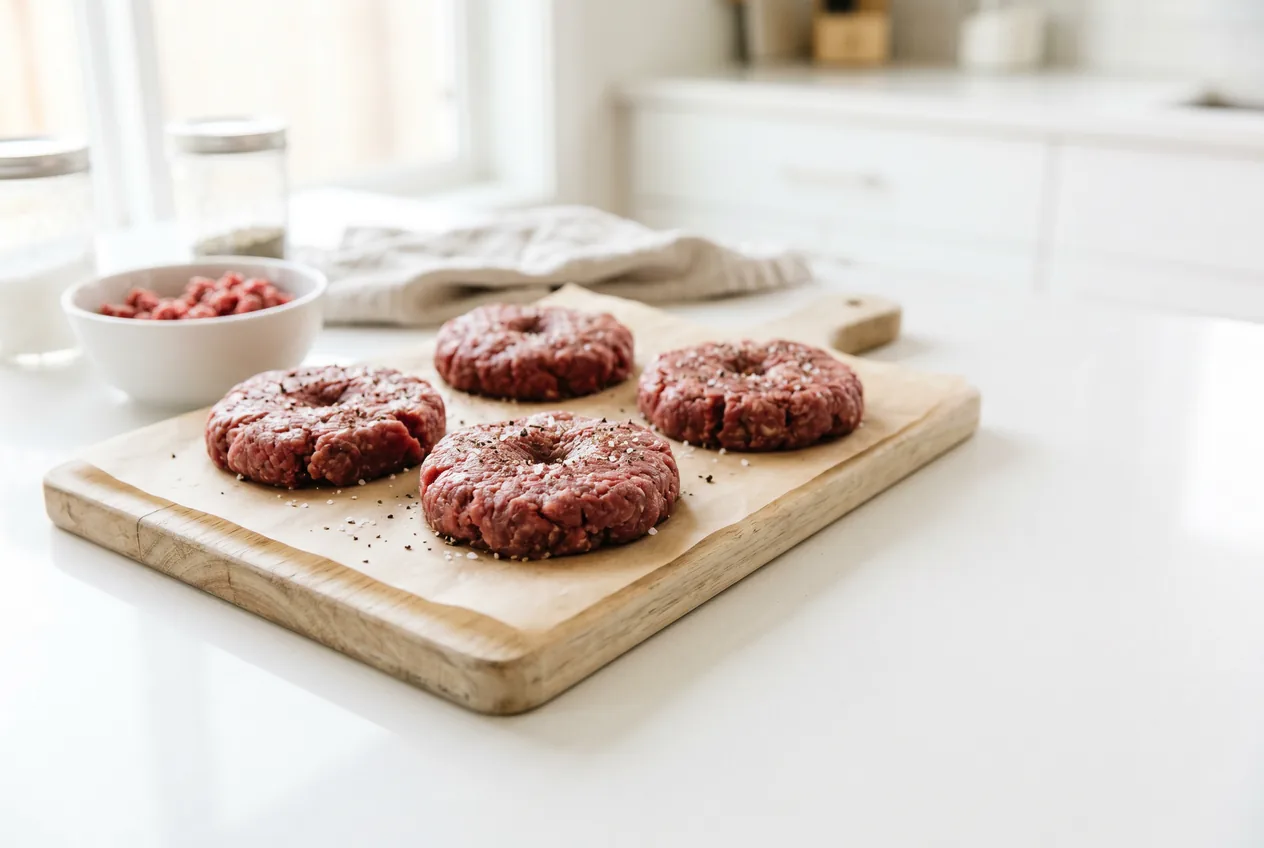
Divide the pound of ground beef into 8 loosely rolled 2 oz balls, about 1/8 lb each. Do not pack them tight. Keep them cold until you are ready to cook.
Heat a flat griddle or heavy cast iron skillet over medium-high to high heat until it is fully hot - a drop of water should skitter and evaporate almost instantly on contact. A flat surface, not a ridged grill pan, is what lets the smash make full contact.
Working in batches of 2 to 3 balls so the pan is never crowded, place the balls on the hot surface and immediately smash each one firmly and evenly with a stiff spatula, holding pressure for 10 to 15 seconds, until about 1/4 inch thick or thinner. Smash once per patty; do not press again after it is down.
Salt and pepper the exposed top of each patty right away. Cook undisturbed for 2 to 3 minutes, until a deep, lacy brown crust forms and the edges look fully set. Do not move the patties before the crust sets, or the crust tears instead of releasing.
Flip each patty once and immediately top with a slice of cheese. Cook 1 to 2 more minutes.
Check the internal temperature of each patty with an instant-read thermometer. Pull them at 160 F - the USDA-safe minimum for ground beef. A thin smashed patty can look done by color well before or after it actually is, so the thermometer decides, not the crust color.
Toast the split buns face-down in the rendered fat on the same griddle for 30 to 60 seconds, until golden.
Stir the mayonnaise and ketchup together for the sauce. Stack two patties per burger and build with the sauce, sliced onion and pickles. Serve immediately - thin patties cool and lose their crust fast, so these are best eaten right away rather than held.
Store cooked patties and toppings separately in airtight containers in the fridge for up to 3 days. Keep buns at room temperature so they do not go soggy.
Freeze raw, formed patty balls in a single layer, then bag them for up to 2 months - they smash and cook straight from frozen with a few extra minutes. An assembled burger does not freeze well; the bun turns soggy once thawed.
Reheat a cooked patty in a covered skillet over medium-low with a few drops of water for about 2 minutes so it warms through without drying out further. A thin smash patty will not regain its original crust on reheat.
Estimates per assembled double-smash burger, calculated from standard ingredient data. Not a substitute for medical advice.
The technique: a loosely formed ball of beef is smashed flat the instant it hits a screaming-hot pan, so the surface sears hard and fast into a deep, lacy crust. A regular burger is shaped into a thicker patty ahead of time and cooked at a gentler pace.
About 2 to 3 minutes on the first side, then 1 to 2 minutes after flipping - roughly 4 minutes total for a thin smashed patty. Pull it at 160 F measured with an instant-read thermometer, the USDA-safe minimum for ground beef.
No. A flat, heavy cast iron or stainless skillet works the same way. What matters is a flat, very hot surface - a ridged grill pan will not let the patty make full contact when you smash it.
About $8.94 for four double-smash burgers, so $2.23 each. The ground beef is the biggest cost; the sauce and toppings add only about a dollar total.
As an Amazon Associate, Budget Plates may earn from qualifying purchases.