Dessert
$0.28per plate
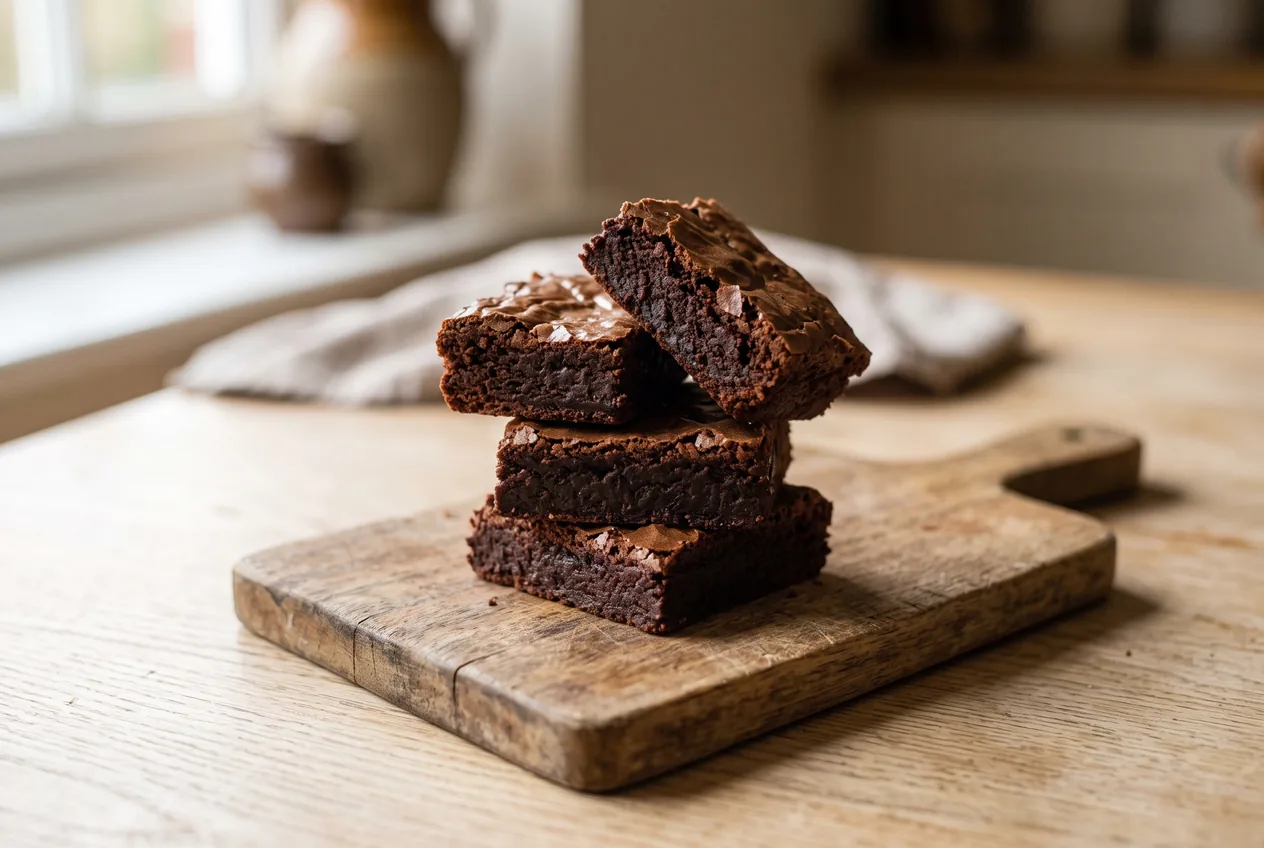
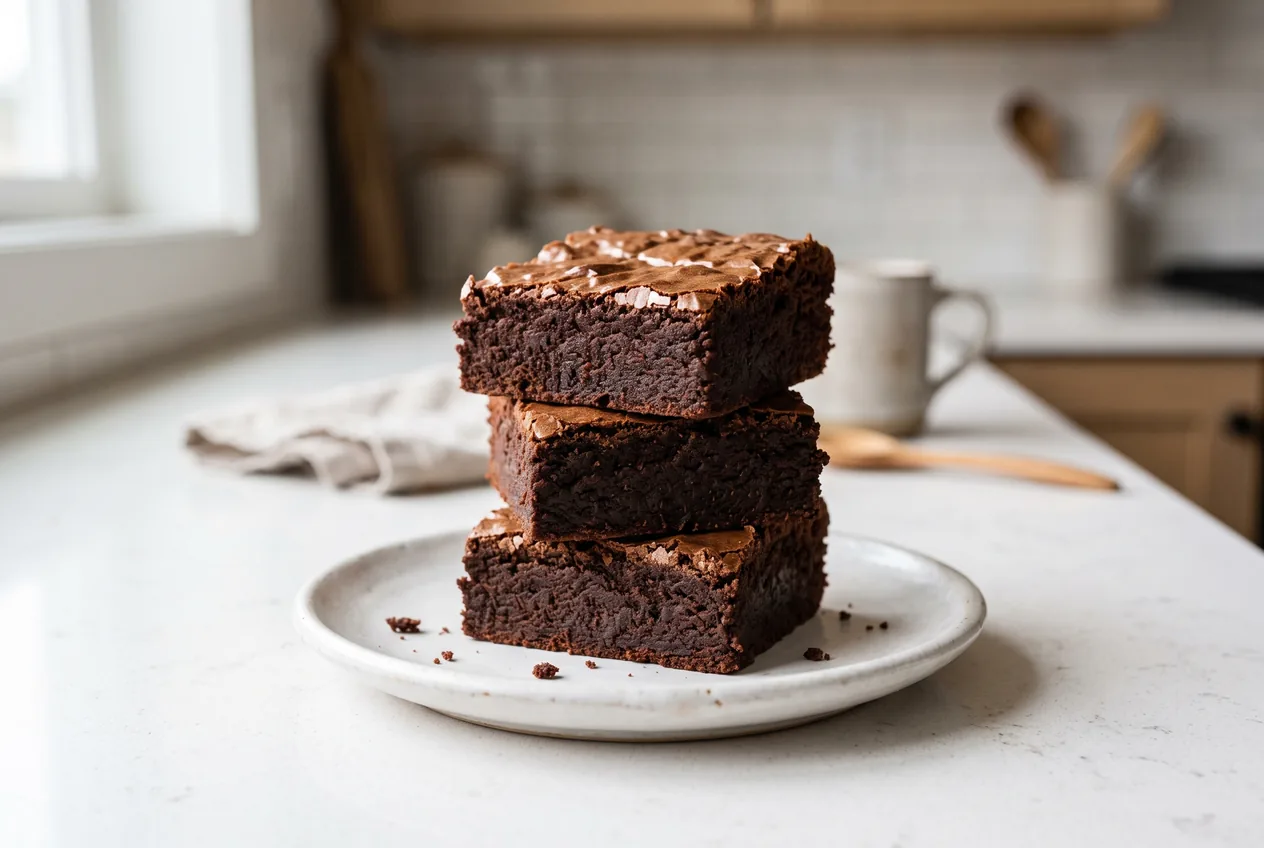
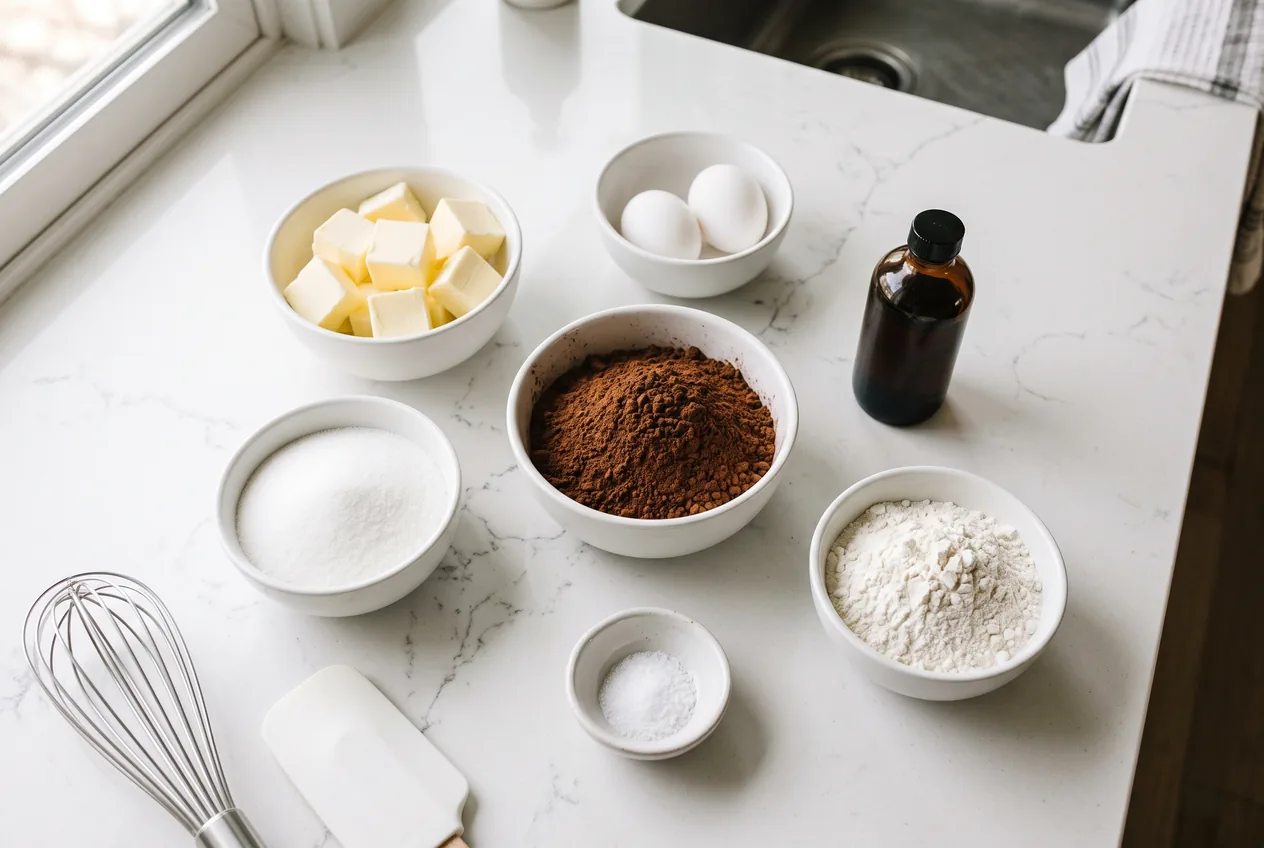
This is the brownie you make when there is cocoa in the cupboard and no baking chocolate in the house. It is worth being straight about the trade: you cannot simply take a chocolate brownie recipe and swap cocoa powder in for the melted chocolate. Cocoa is almost pure solids, carrying starch and very little cocoa butter, so a direct substitution loses fat and bakes dry. A cocoa brownie has to be built differently. This one replaces the missing fat with more butter, 10 tablespoons rather than the 8 our chocolate version uses, and pulls the flavour out of the cocoa by whisking it into butter that is still hot rather than cooled. That single step is why these taste of chocolate rather than of dusty cocoa. Everything happens in one bowl, there is no chocolate to buy, and at $0.20 a square they cost about a third less than the chocolate ones.
Recipe from Budget Plates · https://www.budgetplates.com/cocoa-brownies
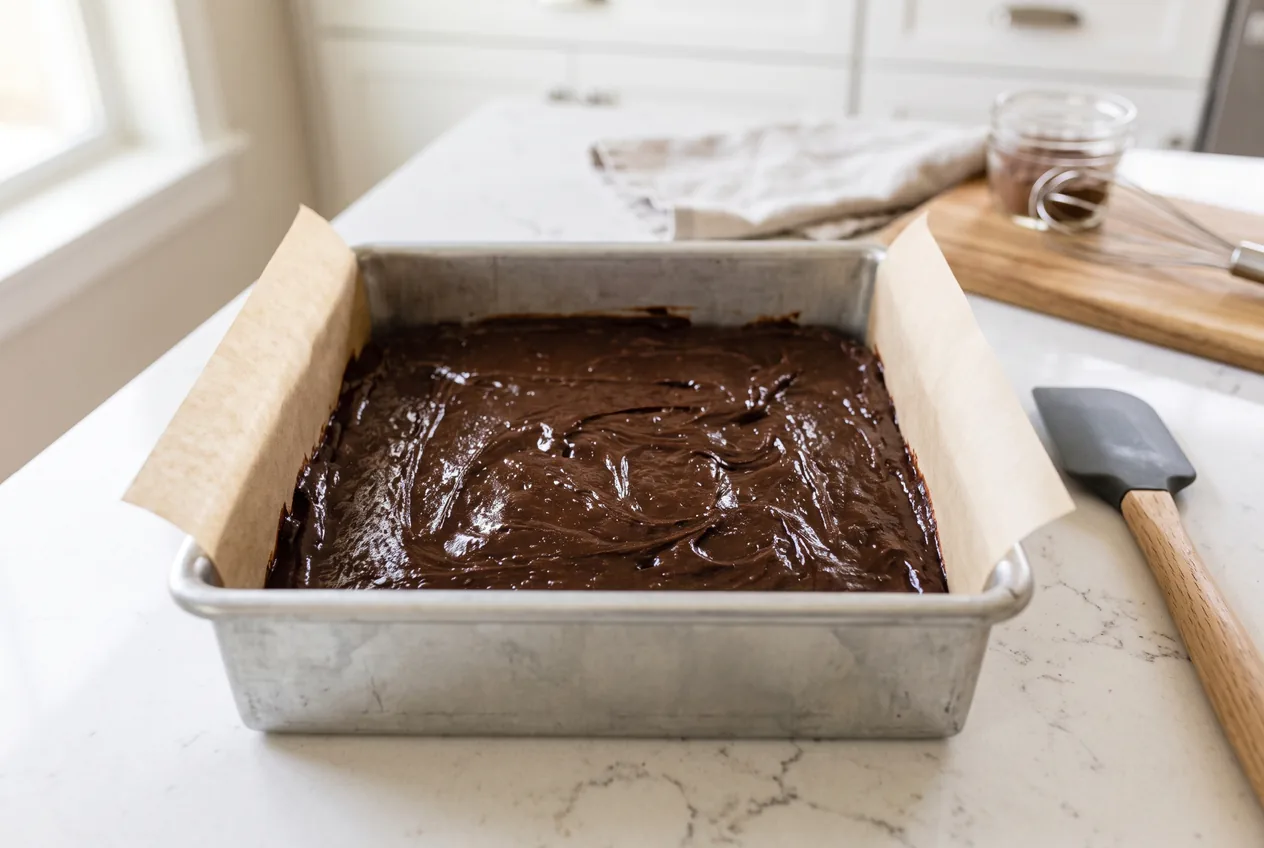
Heat the oven to 325 F with a rack in the middle. Line an 8-inch square metal pan with parchment, letting it hang over two opposite sides to make a sling you can lift the whole slab out by later. Use metal if you have it. Glass holds heat and keeps baking the edges after the pan comes out, which is how brownie edges end up hard while the middle is still soft. The oven runs lower than most brownie recipes on purpose: cocoa scorches more easily than melted chocolate does.
Melt the butter in a medium saucepan over medium-low heat and keep it there until it is hot to the point of shimmering, not merely liquid. Do not let it brown. This is the step the whole recipe turns on, so do not rush it and do not let the butter cool while you fetch something else.
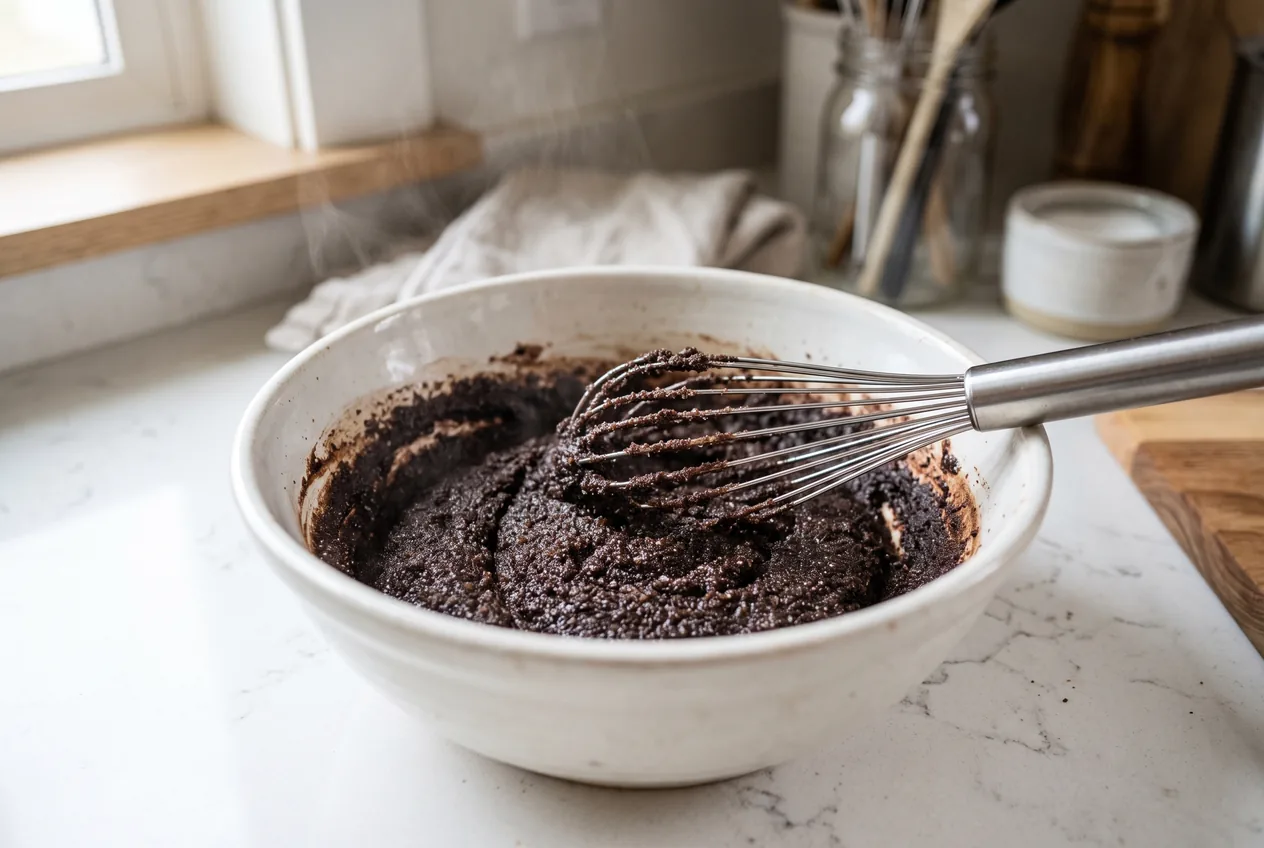
Take the pan off the heat and whisk in the sugar, cocoa and salt. The mixture will look thick, dark and grainy, and that is correct. The heat is doing two jobs at once: it blooms the cocoa, which is what turns a raw dusty flavour into something that tastes of chocolate, and it begins dissolving the sugar, which is what will later rise to the surface and dry into a shiny top. Let it stand for about 5 minutes until it is warm rather than hot.
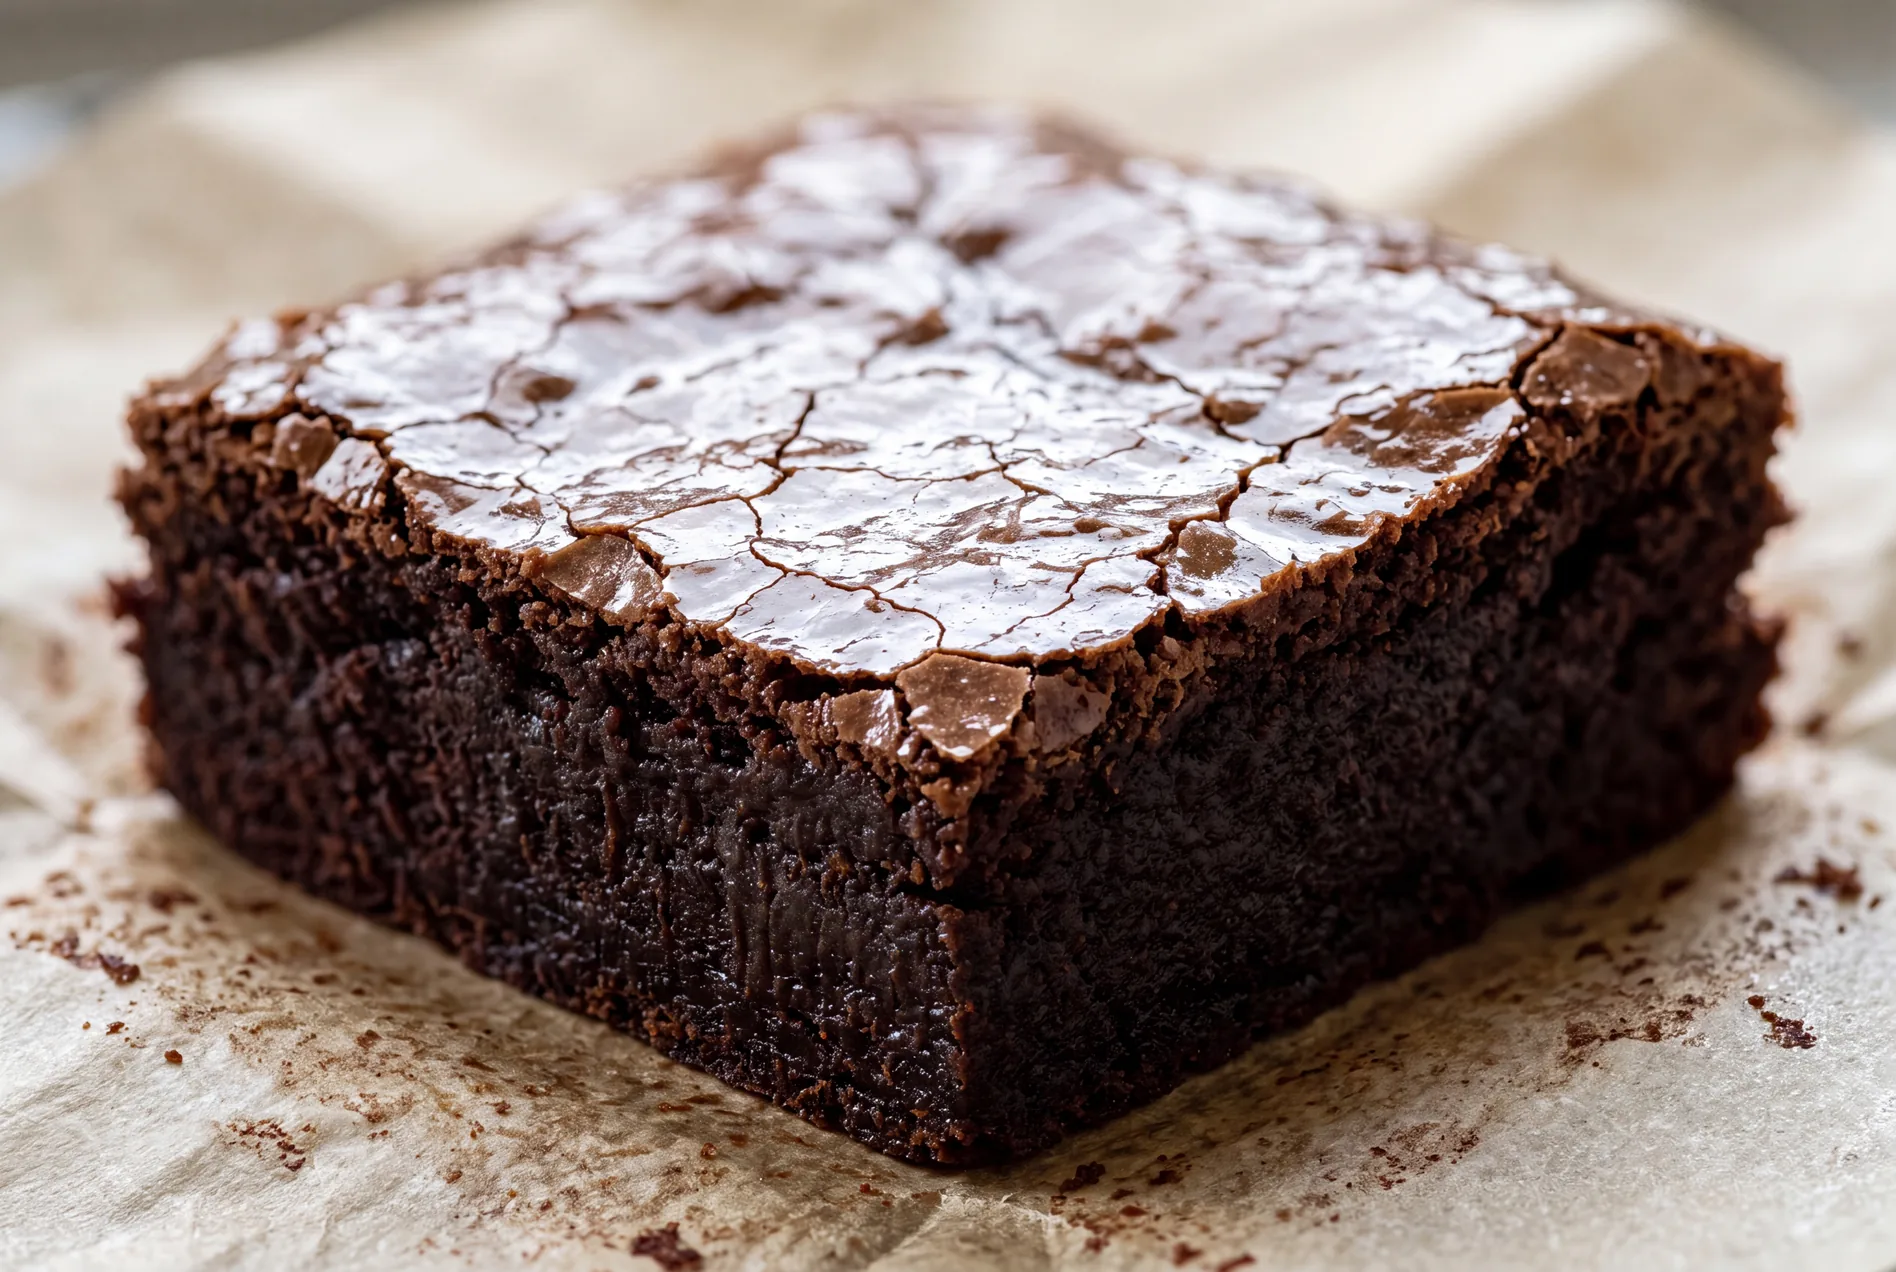
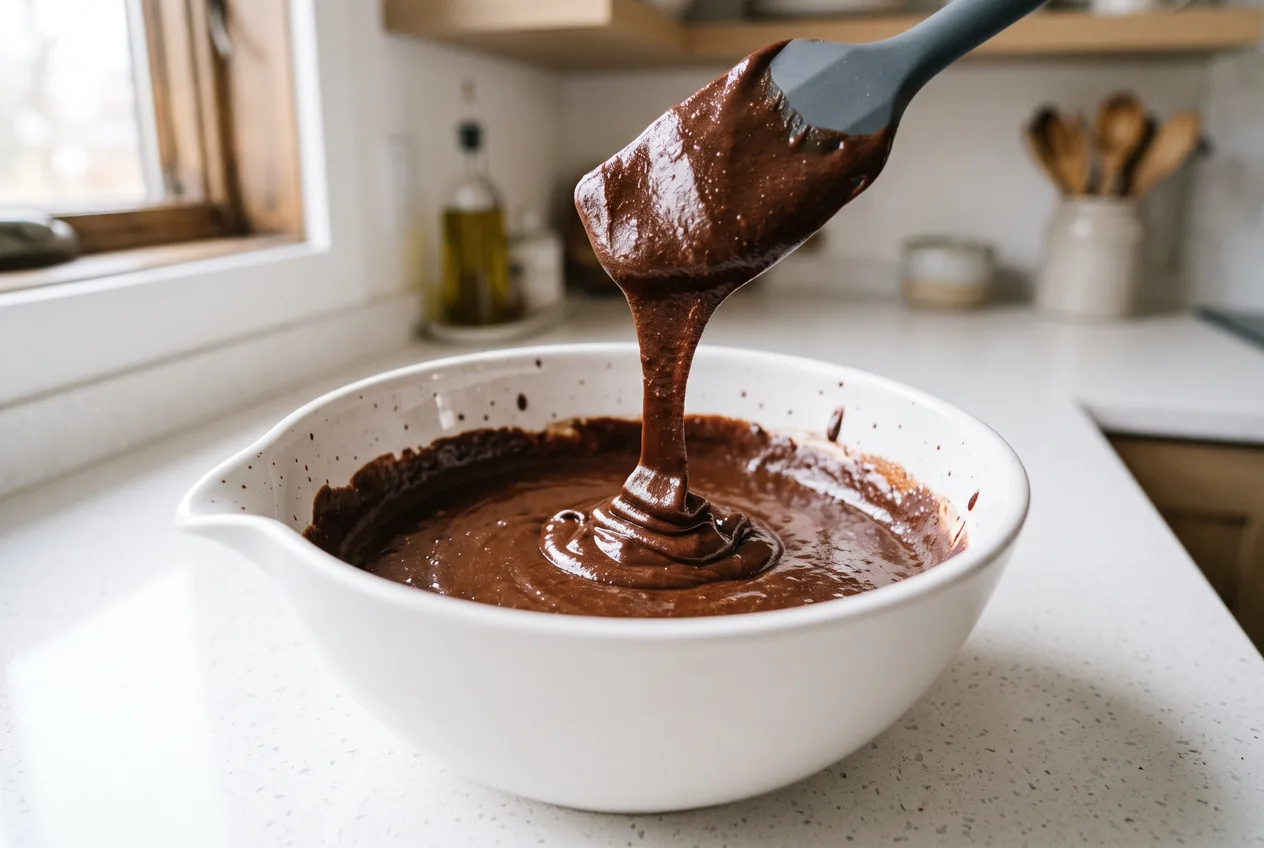
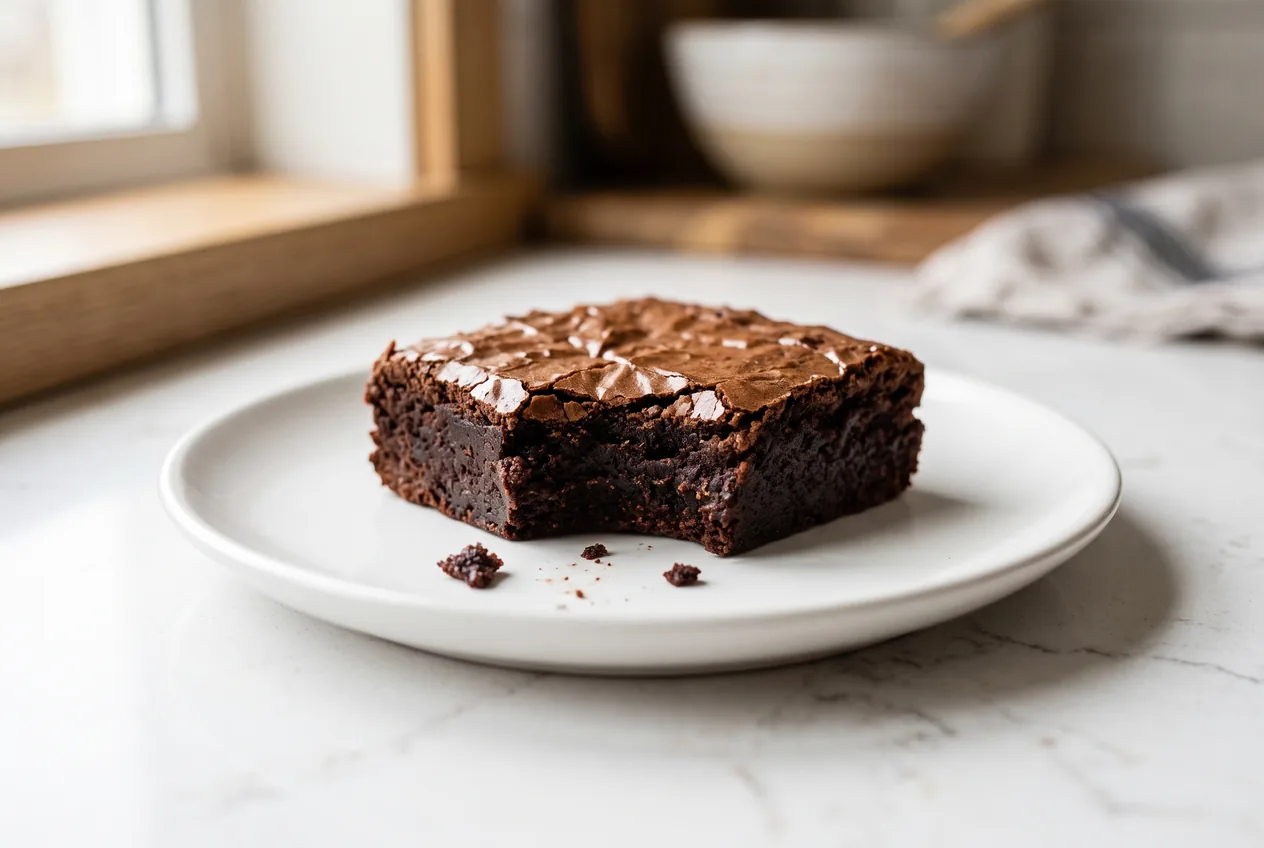
Check the mixture is only warm, then whisk in the eggs one at a time, beating hard for about 30 seconds after each. Cold eggs straight from the fridge are useful here because they bring the temperature down and give you margin against scrambling. After the second egg goes in, beat vigorously for a full minute: the batter should visibly change from dull to thick and glossy. That glossiness is dissolved sugar, and it is the difference between a shiny crackled top and a dull matte one.
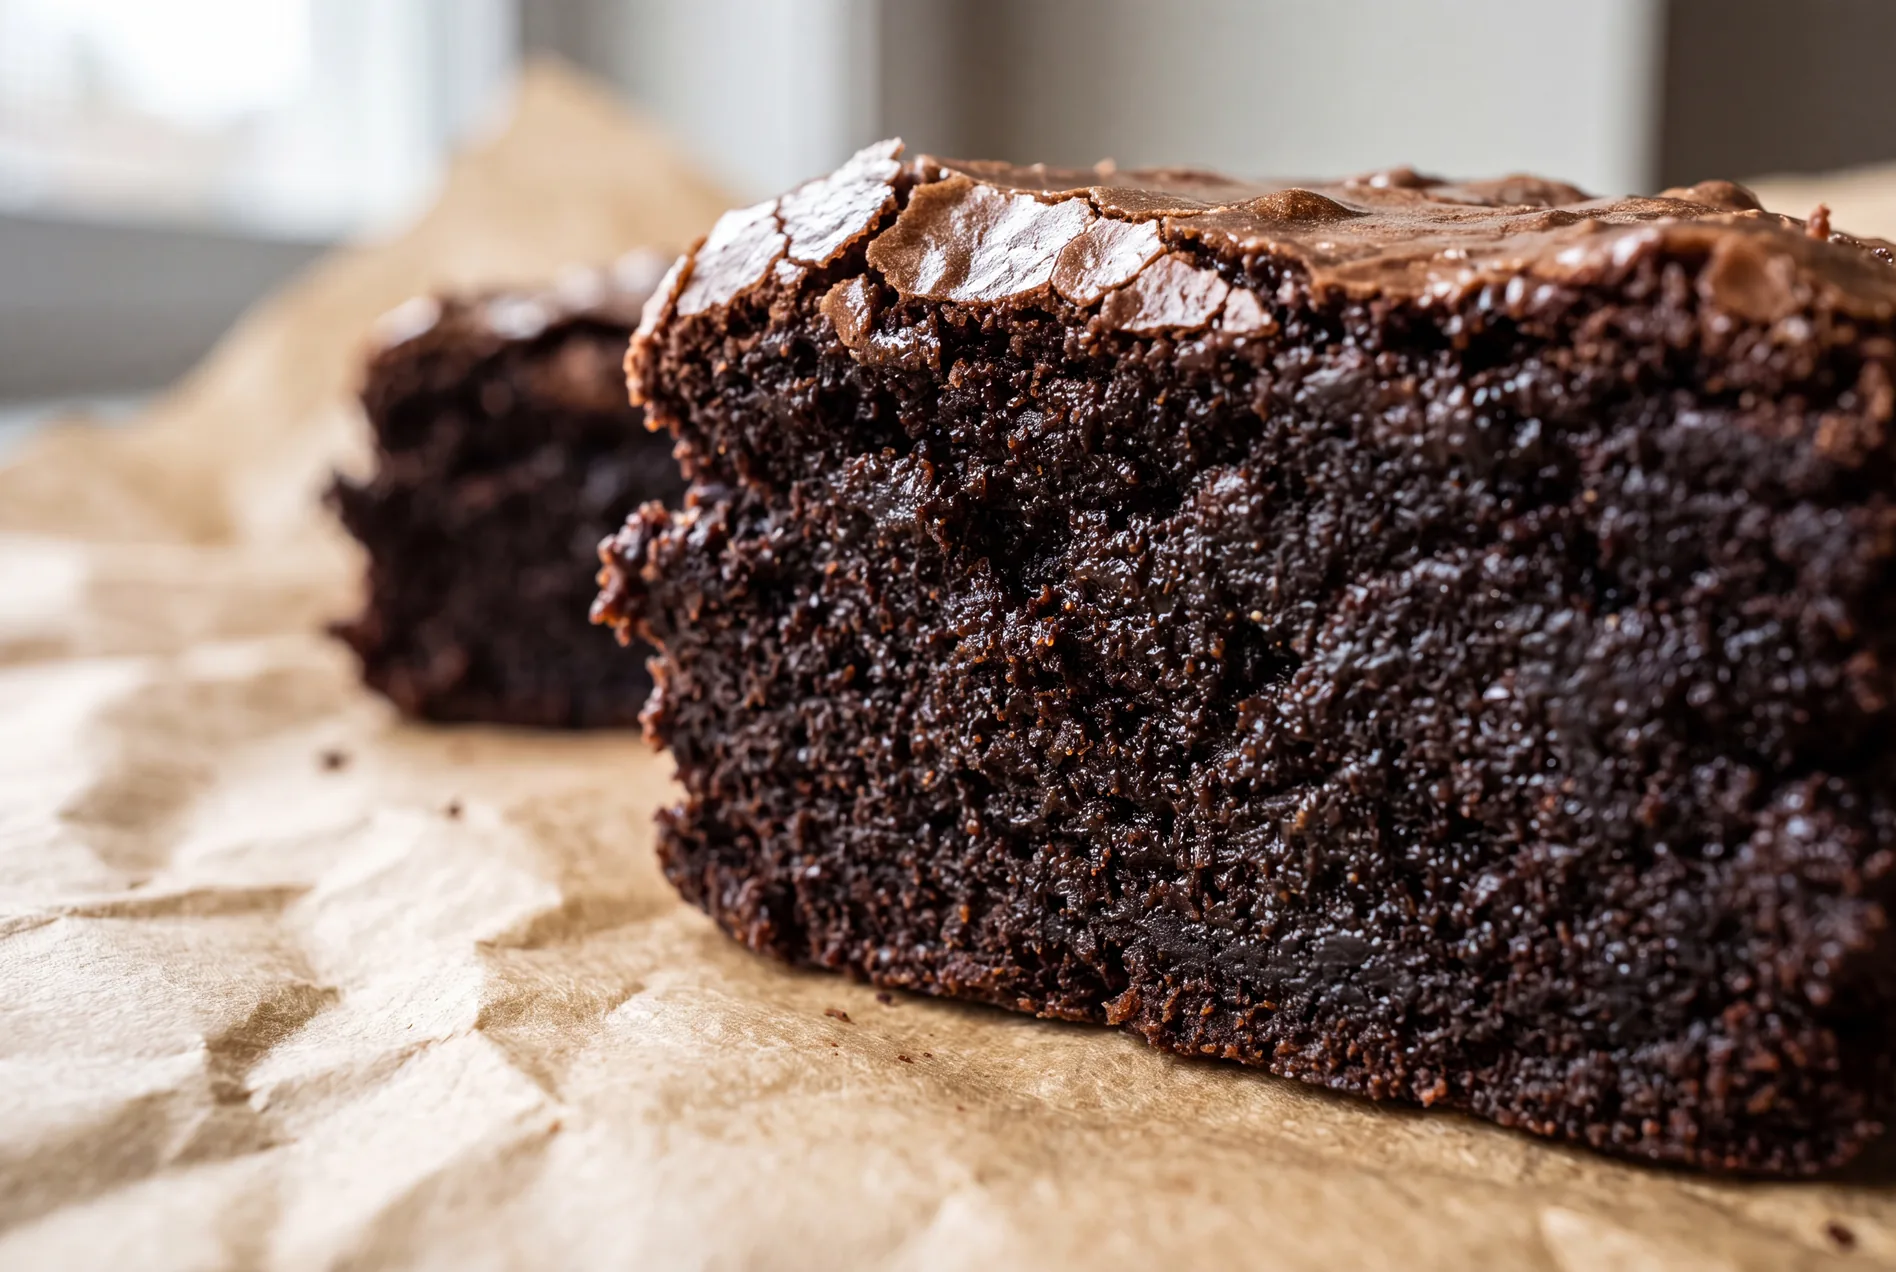
Add the vanilla, then the flour, and stir with a spatula only until the last streak disappears, about 40 strokes. There is deliberately very little flour here, half a cup, because flour is what makes a brownie cakey rather than fudgy. There is no baking powder and no baking soda either, for the same reason. Once the flour is in, beat as little as possible.
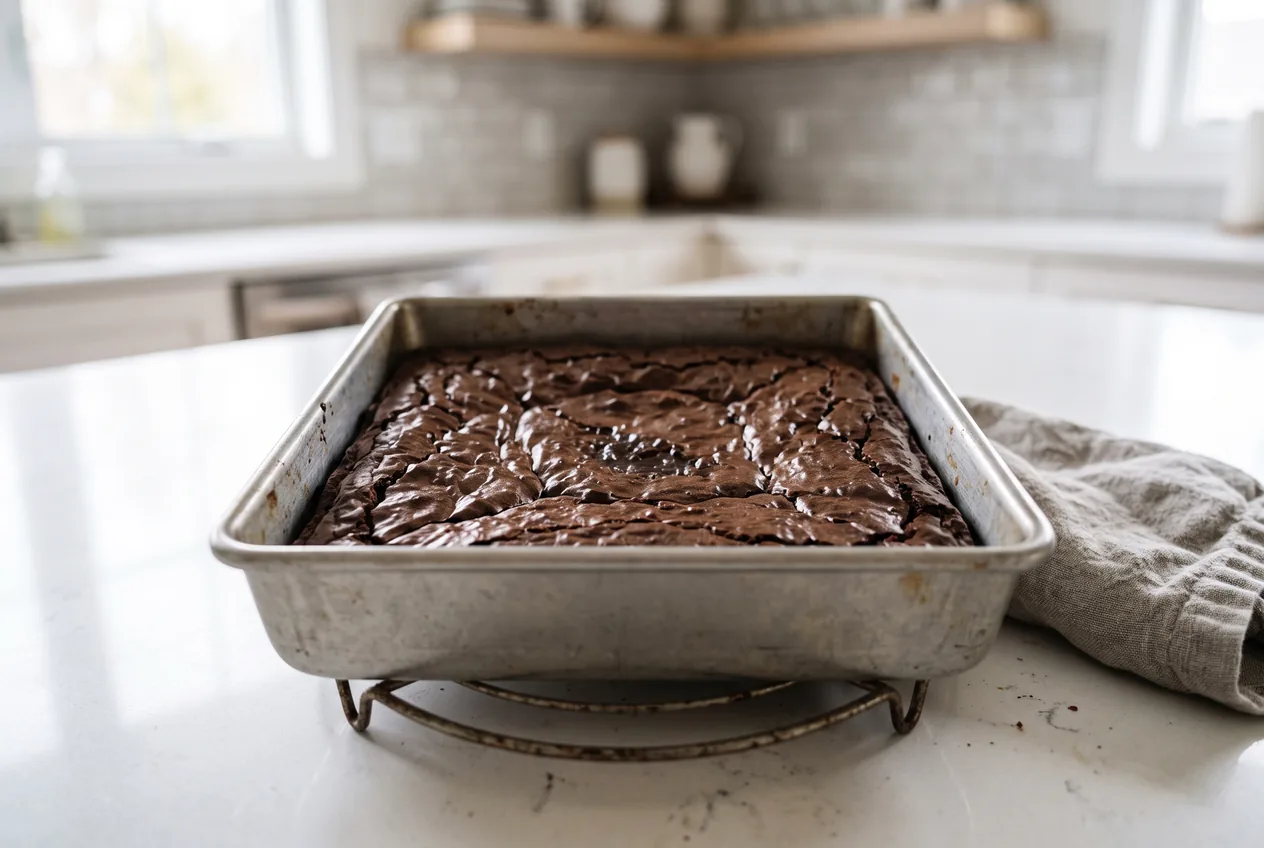
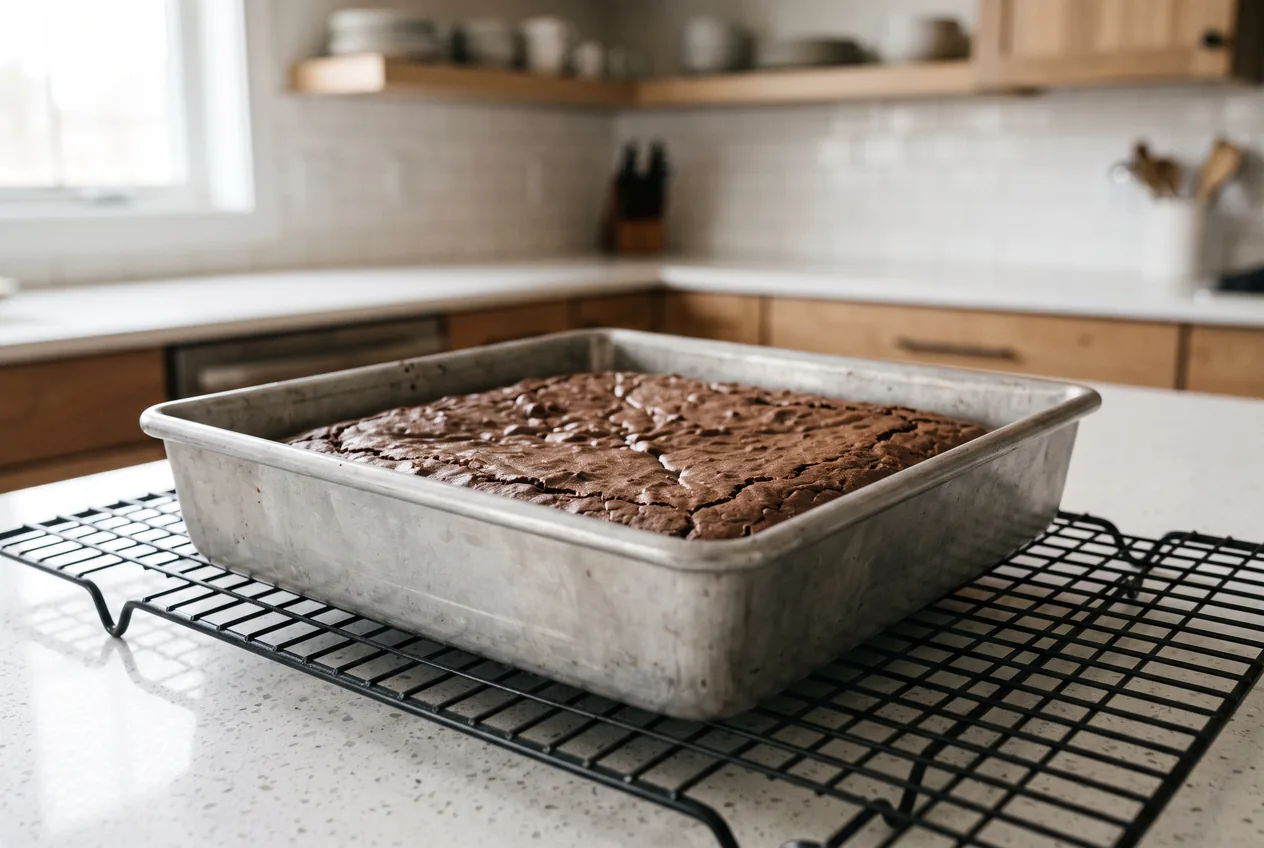
Scrape the batter into the pan and push it into the corners; it is stiff and will not level itself. Bake for 22 to 28 minutes. They are done when the edges are set and just beginning to pull from the pan, the surface is dry and crackled, and a skewer in the centre comes out with moist crumbs clinging to it. A skewer that comes out completely clean means they are already overbaked. The centre should still look slightly underdone, because the hot pan keeps cooking them after they come out.
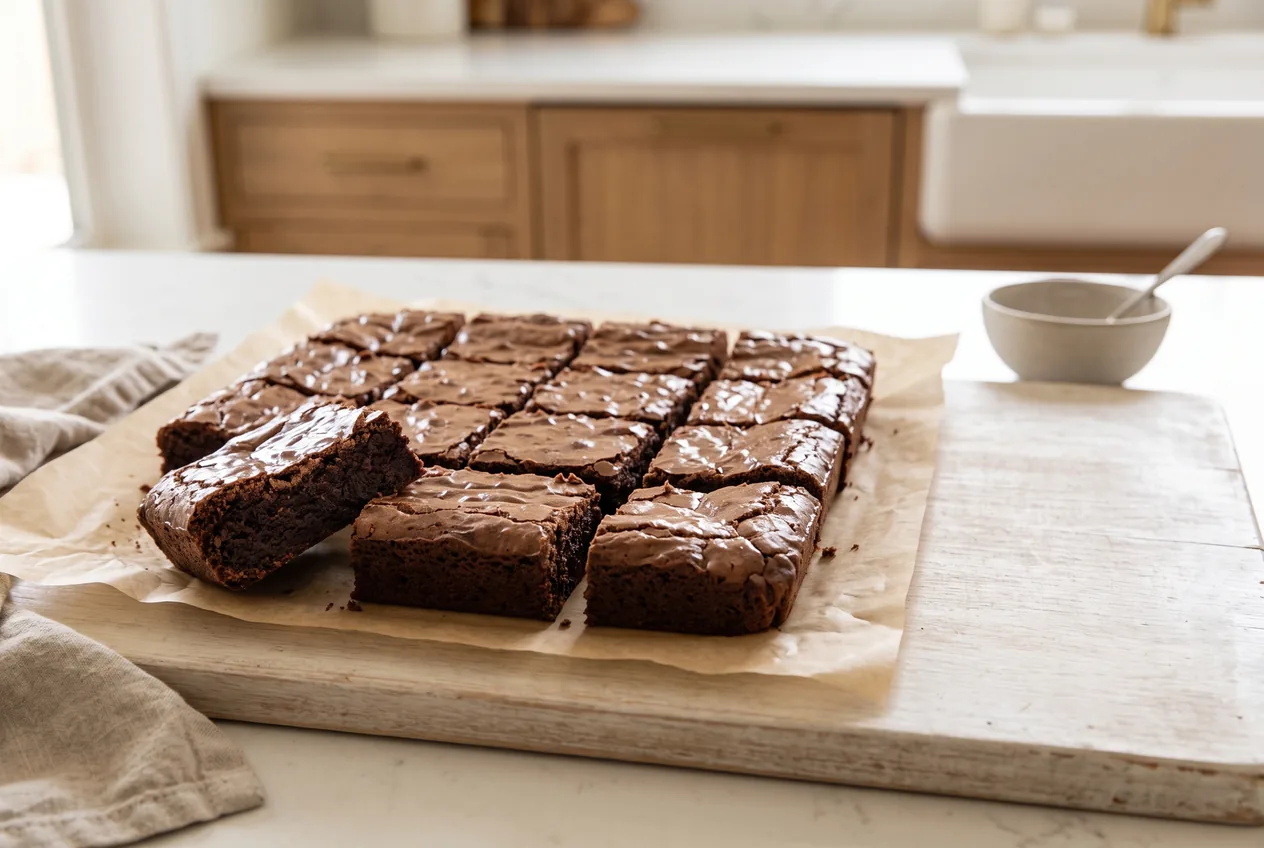
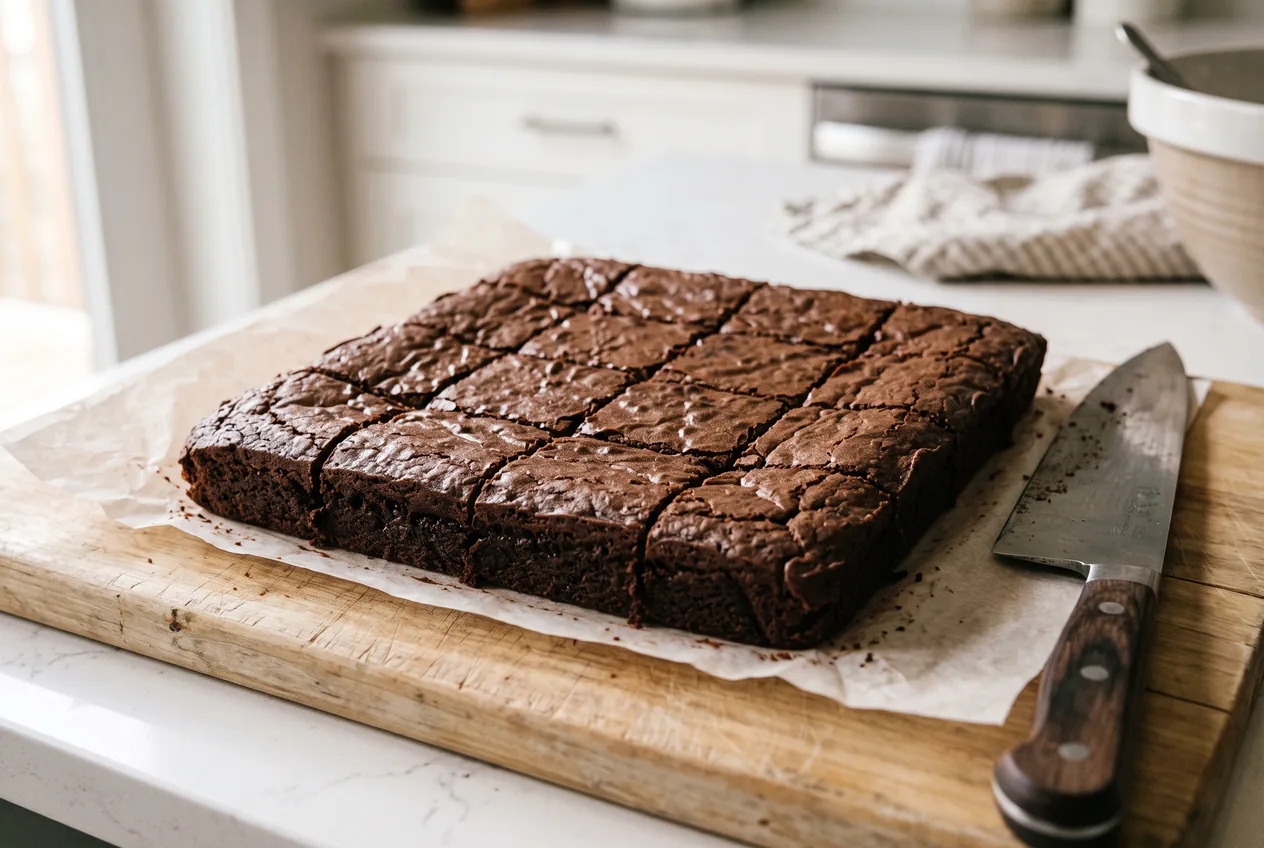
Leave the pan on a wire rack and cool completely, about 2 hours. Cutting warm brownies drags the fudgy centre along the knife and gives you torn edges and a greasy mouthfeel. Lift the slab out by the parchment, cut 4 by 4 for 16 squares, and wipe the blade between cuts. For genuinely sharp edges, chill the cooled slab for 30 minutes first.
Keep cut brownies in an airtight container at room temperature for up to 4 days. They are fudgiest on days one and two and firm up slowly after that as the sugar recrystallises. A slice of sandwich bread in the container slows it down, since the brownies draw moisture from the bread rather than giving up their own. Refrigerating makes them hard and mutes the cocoa, so avoid it unless you are chilling them briefly to cut clean squares.
They freeze very well for up to 3 months, cut and layered with parchment in an airtight container, or as an uncut slab. Thaw at room temperature for about an hour. A cocoa brownie freezes better than most baked goods because it is dense and low in flour, so there is little structure to go stale.
Not needed, but 8 to 10 seconds in the microwave brings a day-four brownie back close to day one. Longer than that and the sugar gets hot while the centre stays firm.
Estimates per brownie, based on 16 brownies from an 8x8 pan, calculated from standard ingredient data. Not a substitute for medical advice.
Not as a straight swap, which is the single most common reason cocoa brownies come out dry. Cocoa powder is mostly solids and starch with very little cocoa butter in it, so replacing melted chocolate with cocoa removes a lot of fat from the recipe. A cocoa brownie has to put that fat back somewhere else. This one uses 10 tablespoons of butter where our chocolate version uses 8, and it whisks the cocoa into hot butter to draw the flavour out. Built that way, cocoa alone is genuinely excellent.
Either, and you can swap them one for one here. The usual reason to care is chemistry: natural cocoa is acidic and reacts with baking soda, while Dutch-process is alkalised and does not. This recipe contains no baking soda and no baking powder at all, so that concern does not apply and the choice is purely about flavour. Dutch-process gives a darker, smoother, more bittersweet result. Natural gives a brighter, sharper, slightly fruitier one.
Three usual causes, and this recipe is written against all of them. Too much flour is the main one, which is why there is only half a cup here and why it should be spooned into the cup rather than scooped. Any chemical leavening is the second, so there is none. Over-beating after the flour goes in is the third: it builds gluten and pushes the texture toward cake. Beat hard before the flour, barely at all afterwards.
Use three cues rather than the timer. The edges should be set and just starting to pull away from the pan, the surface should be dry and crackled rather than wet, and a skewer in the middle should come out with moist crumbs stuck to it. A completely clean skewer is the classic mistake: it means the middle is already past fudgy. The centre looking slightly underdone when the pan leaves the oven is correct.
Almost always underbaking, which leaves the centre without enough set structure to hold itself up as it cools. Give them the full doneness cues rather than pulling at the earliest time. The other cause is opening the oven door early, which drops the temperature at the point the top is trying to set. Leave the door shut until at least 20 minutes have passed.
Usually they were cut warm. A fudgy brownie only firms up as the butter sets, so cutting early tears rather than slices. Cool them completely, about 2 hours, and chill the slab for 30 minutes if you want genuinely sharp edges. Crumbling in a fully cooled brownie points the other way, to overbaking, which dries the crumb until there is not enough moisture holding it together.
Most often the butter and sugar never combined properly, which happens when the butter has cooled too much before the cocoa and sugar go in. The fat then bakes out rather than staying in the batter. Melt the butter until it is genuinely hot, and whisk the sugar in straight away. Cutting the brownies before they have cooled will also leave grease on the knife, but that one fixes itself with patience.
It comes from dissolved sugar, not from anything added. Sugar that has dissolved into the batter rises to the surface during baking and dries there into a thin, glossy sheet. Two things dissolve it: whisking it into butter that is still hot, and beating hard for a full minute after the eggs go in. Skip either and the top comes out dull. Brown sugar will also cost you the shine, because its extra moisture stops the surface drying, which is why this recipe uses granulated only.
Because the butter mixture is warm and cold eggs give you margin. Most baking recipes want room-temperature eggs, but here the risk runs the other way: adding eggs to a mixture that is still too hot scrambles them into threads. Cold eggs bring the temperature down as they go in. Let the cocoa mixture stand about 5 minutes first, add the eggs one at a time, and beat well between each.
Yes, in a 9x13 metal pan. Double every ingredient and bake at the same 325 F, starting to check at 30 minutes. Do not double it into two 8-inch pans on separate racks unless you swap their positions halfway, since the lower pan will run ahead of the upper one.
Four days in an airtight container at room temperature, best on the first two. They firm up over time as the sugar recrystallises rather than going stale in the usual sense. A slice of sandwich bread in the container slows that noticeably, and eight seconds in the microwave undoes most of it.
Yes, up to 3 months. Freeze them cut, layered with parchment in an airtight container, and thaw at room temperature for about an hour. Dense low-flour bakes like this one freeze better than most, because there is little starch structure to stale, and nothing in the recipe separates or weeps on thawing.
As an Amazon Associate, Budget Plates may earn from qualifying purchases.